Beaver Creek – BREC Golf

Welcome to Beaver Creek

Book Now
Pay Online for Discounted Play

Pro Tip:

This straight-forward par 4 has a generous landing area to begin the round. Challenging the fairway bunker on the right can shorten the hole, but can lead to a very difficult second shot. A two-tiered green makes knowing the hole location a must.

Details:

  • 395
  • 360
  • 315
  • 280
Hole 2

Pro Tip:

A well-played tee shot is required on this par 5 as a fairway bunker and penalty area protect the right side of the fairway on the tee shot. Properly navigating the fairway bunker positioned 100 yards from the green is a must for the second shot and the green has a variety of hole locations that can be extremely challenging.

Details:

  • 525
  • 495
  • 455
  • 405
Hole 3

Pro Tip:

A greenside bunker protects the left side of the green. Playing to the center of this green is the proper play on this hole.

Details:

  • 165
  • 135
  • 110
  • 95
Hole 4

Pro Tip:

Two fairway bunkers provide a challenging tee shot on this straightforward par 4. A large green from front to back makes knowing the hole location imperative.

Details:

  • 425
  • 390
  • 345
  • 295
Hole 5

Pro Tip:

A short, narrow par 4 that requires the proper yardage off of the tee means a driver may not even be needed here. The large double green, which is shared with the 7th and is a unique feature of the hole, provides numerous hole locations that are hard to see from the fairway.

Details:

  • 355
  • 310
  • 270
  • 245
Hole 6

Pro Tip:

This slight downhill par 5 has a penalty area that protects the green and wards off attempts to hit in two shots. Positioning a second shot on left side of the fairway will lead to an easier third shot.

Details:

  • 545
  • 500
  • 450
  • 405
Hole 7

Pro Tip:

As the longest par 4 on the course, this hole plays slightly uphill on drive and the second shot. The double green, which is shared with hole #5, is protected on the left side by a deep, challenging bunker.

Details:

  • 455
  • 420
  • 375
  • 335
Hole 8

Pro Tip:

This par 3 with a front, pot-sized bunker is the first thing players should avoid. Playing to the center of the green regardless of pin position is the proper play.

Details:

  • 180
  • 160
  • 135
  • 120
Hole 9

Pro Tip:

The right fairway bunker needs to be avoided, but the fairway runs into a penalty area for stray shots to the left. A pond on the left of the green will catch a player's eye and the undulated green provides many challenging hole locations.

Details:

  • 395
  • 370
  • 330
  • 295
Hole 10

Pro Tip:

This short par 4 features a well-placed bunker in the middle of the fairway that forces players to play with some strategy. Play left, right, or short or try to carry. It will depend greatly on the player’s ability and skill level.

Details:

  • 360
  • 325
  • 295
  • 255
Hole 11

Pro Tip:

This par 5 features a lake that guards the entire left side of the hole. The tee shot must be placed between the lake and fairway bunkers to attempt reaching the green in two shots. If that is not an option, the second shot must be played to the right side of the fairway to set up the correct angle to attack the pin. A generous flat green should provide players with a good chance at birdie.

Details:

  • 515
  • 475
  • 430
  • 390
Hole 12

Pro Tip:

A short par 4 with water down the entire left side and a penalty area on the right makes this a challenging off-the-tee shot. A properly placed tee shot leaves a mid-iron shot into the green with a large bunker that protects the left side.

Details:

  • 390
  • 350
  • 310
  • 265
Hole 13

Pro Tip:

A narrow chute off the tee leads to a generous landing area on the longest par 5 on the course. A small grove of trees and well positioned fairway bunkers make the layup shot difficult. A small challenging green meets players for the third shot.

Details:

  • 555
  • 350
  • 310
  • 265
Hole 14

Pro Tip:

A long dogleg to the right will require two properly struck shots to get to the green in two. The second shot is played over a wetlands area to a green with hazard areas to the left and right. The large green is protected by only grass since this is the only hole on Beaver Creek without a bunker.

Details:

  • 440
  • 405
  • 365
  • 325
Hole 15

Pro Tip:

Two teeing areas provide two very different looking par 3s from the player’s perspective. The back tees require a long precise shot through a chute in the trees to an oddly shaped green, while the forward tees require a well struck short iron to avoid the deep greenside bunker.

Details:

  • 190
  • 165
  • 125
  • 95
Hole 16

Pro Tip:

This second dogleg right on the back nine begins with a challenging tee shot to what appears to be a very narrow landing area. Plenty of room to the left means there is no reason to challenge the fairway bunkers on the right side. A large relatively flat green should lead to a lot of putts being made on this hole.

Details:

  • 415
  • 375
  • 345
  • 305
Hole 17

Pro Tip:

The longest par 3 on the course is protected by a small pond on the left and bunker on the right side. Playing your tee shot to the center of the green is the proper play on this hole.

Details:

  • 200
  • 160
  • 130
  • 110
Hole 18

Pro Tip:

Fairway bunkering on this hole provides the biggest challenge to players. Carry yardage with the driver is important to know before deciding which bunker to carry, however, there is plenty of room and open area to the left. This large green provides many challenging hole locations, so get the correct yardage when playing your second shot.

Details:

  • 445
  • 420
  • 380
  • 350
Hole 1

Course Information

  • LOCATION

    1100 E Plains-Port Hudson Rd. Zachary, LA 70791

  • PHONE

    225-658-6338

  • EMAIL

    beavercreek@brec.org

  • HOURS

    Open Daily 7 a.m.- Sunset

  • COURSE STAFF

    Manager: Tom Agazzi, PGA

    Golf Course Superintendent: Jacob Buchanan

Zachary, LA WEATHER

About Beaver Creek

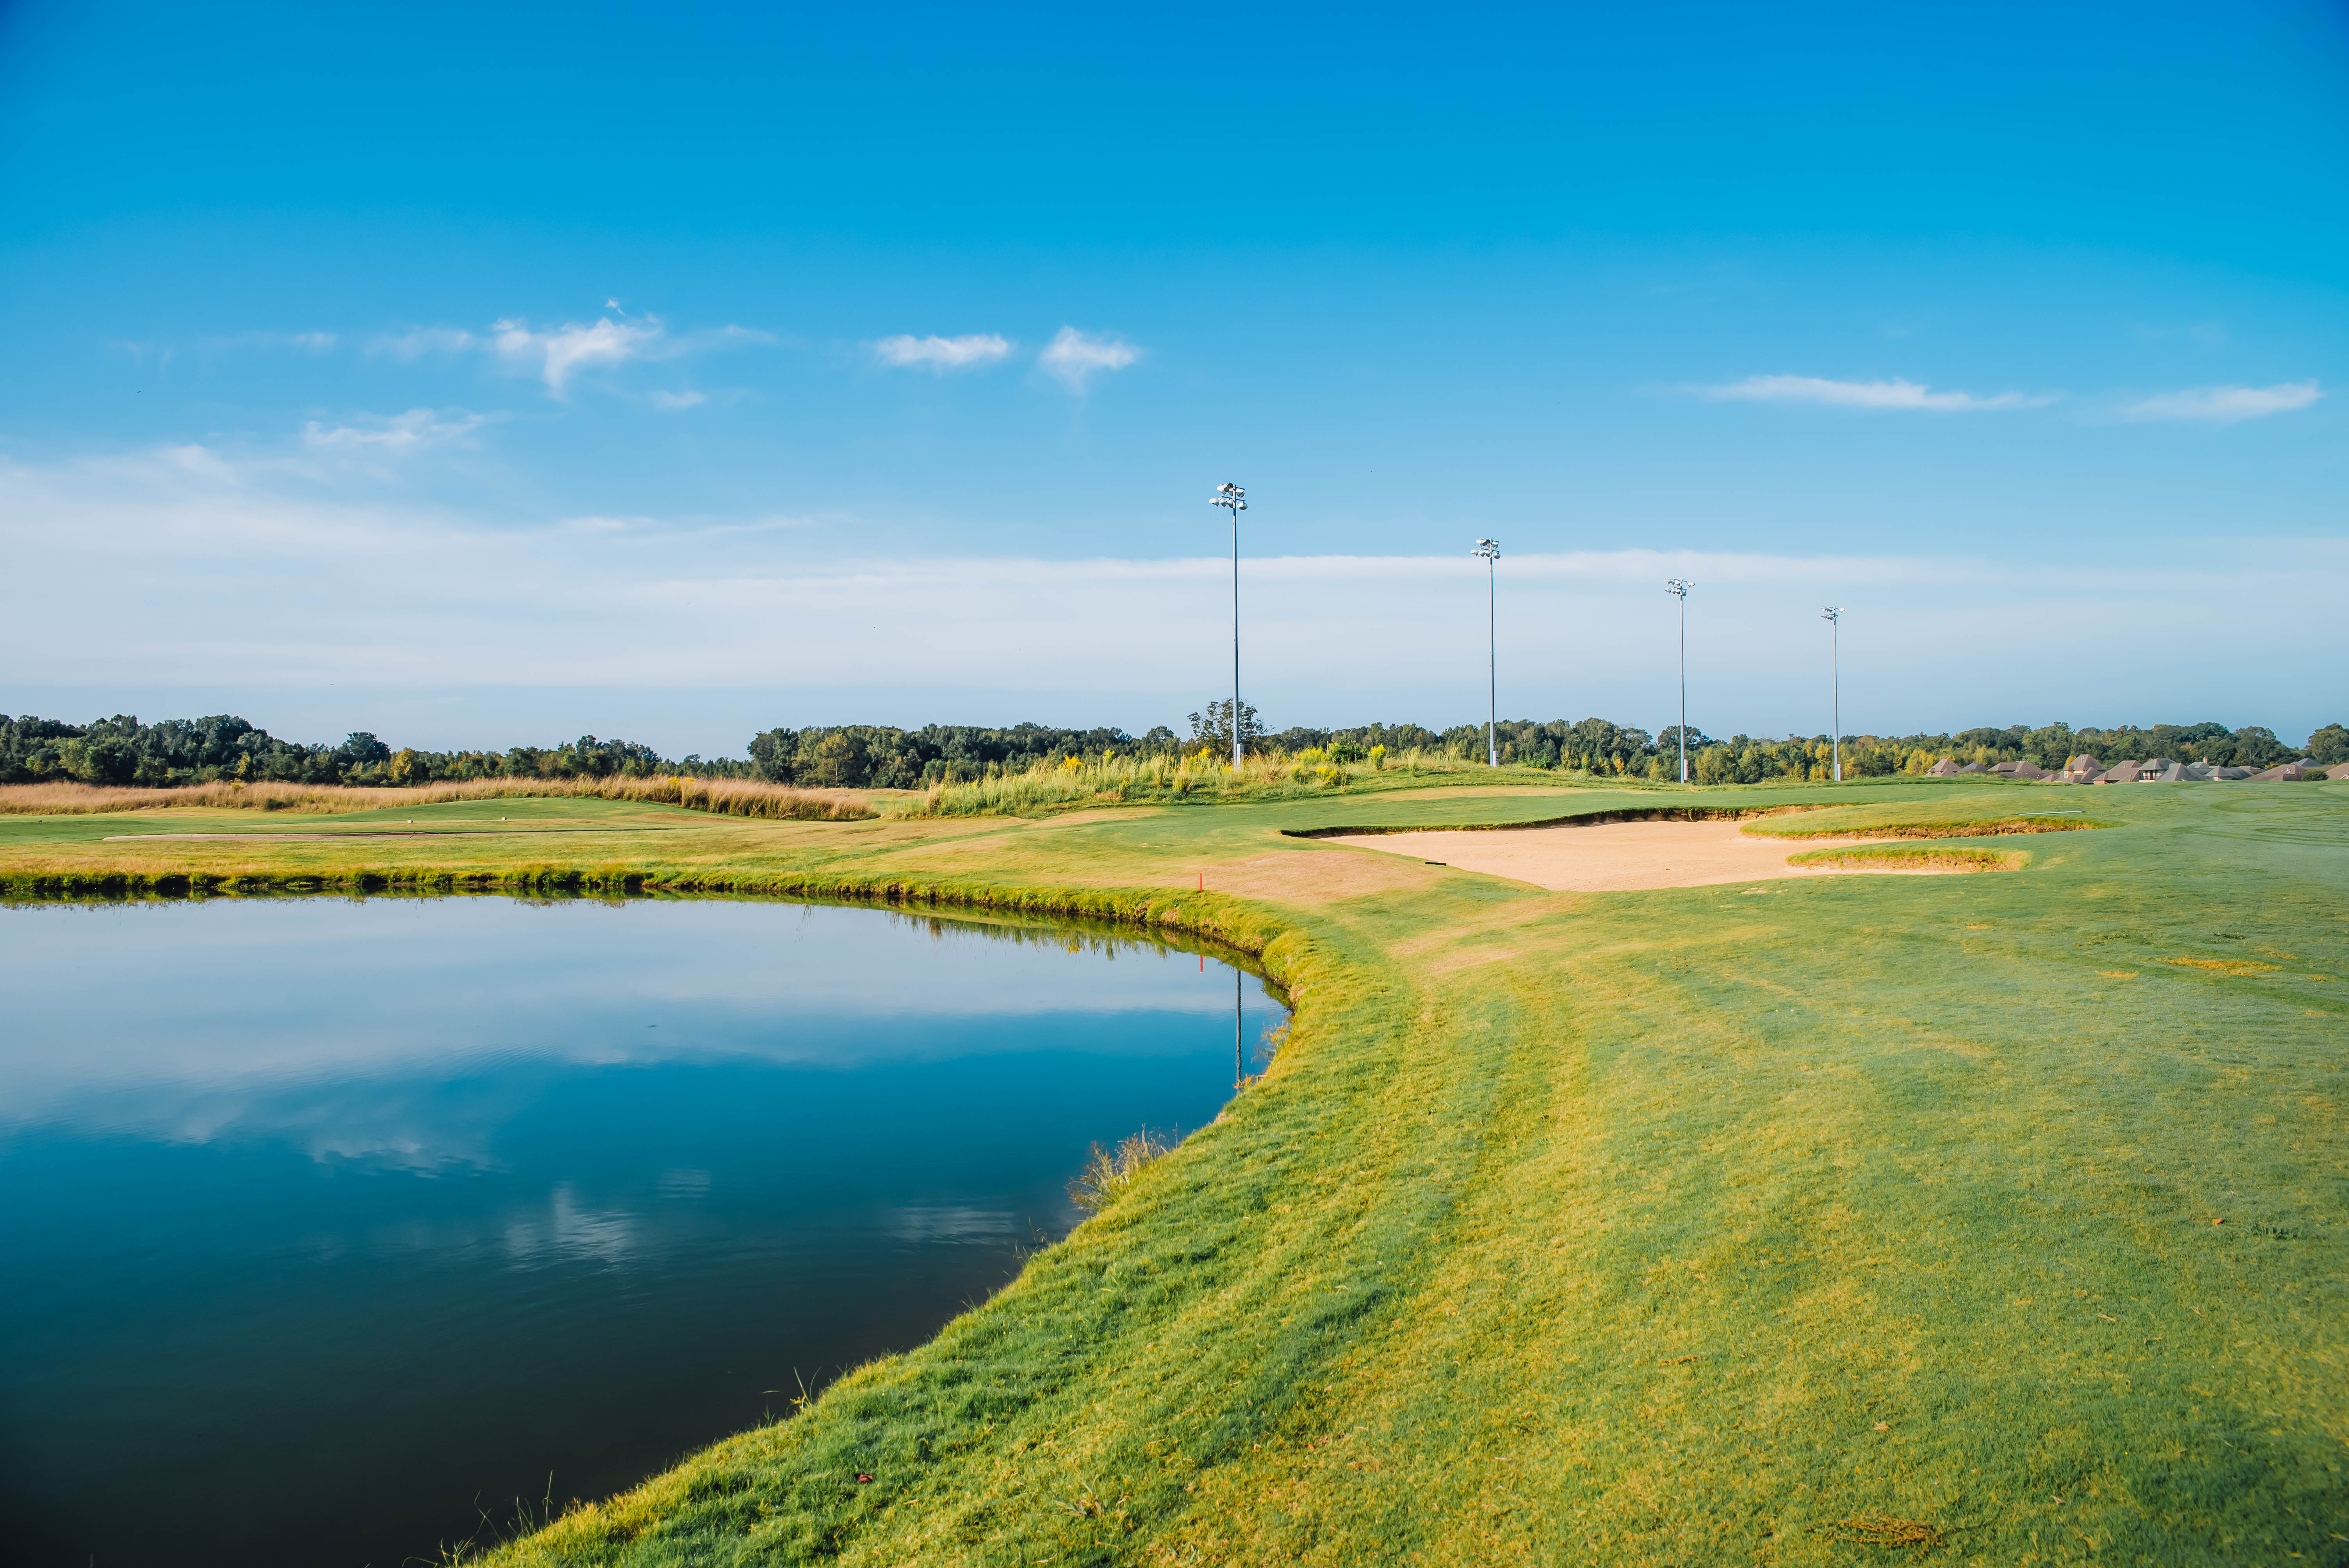
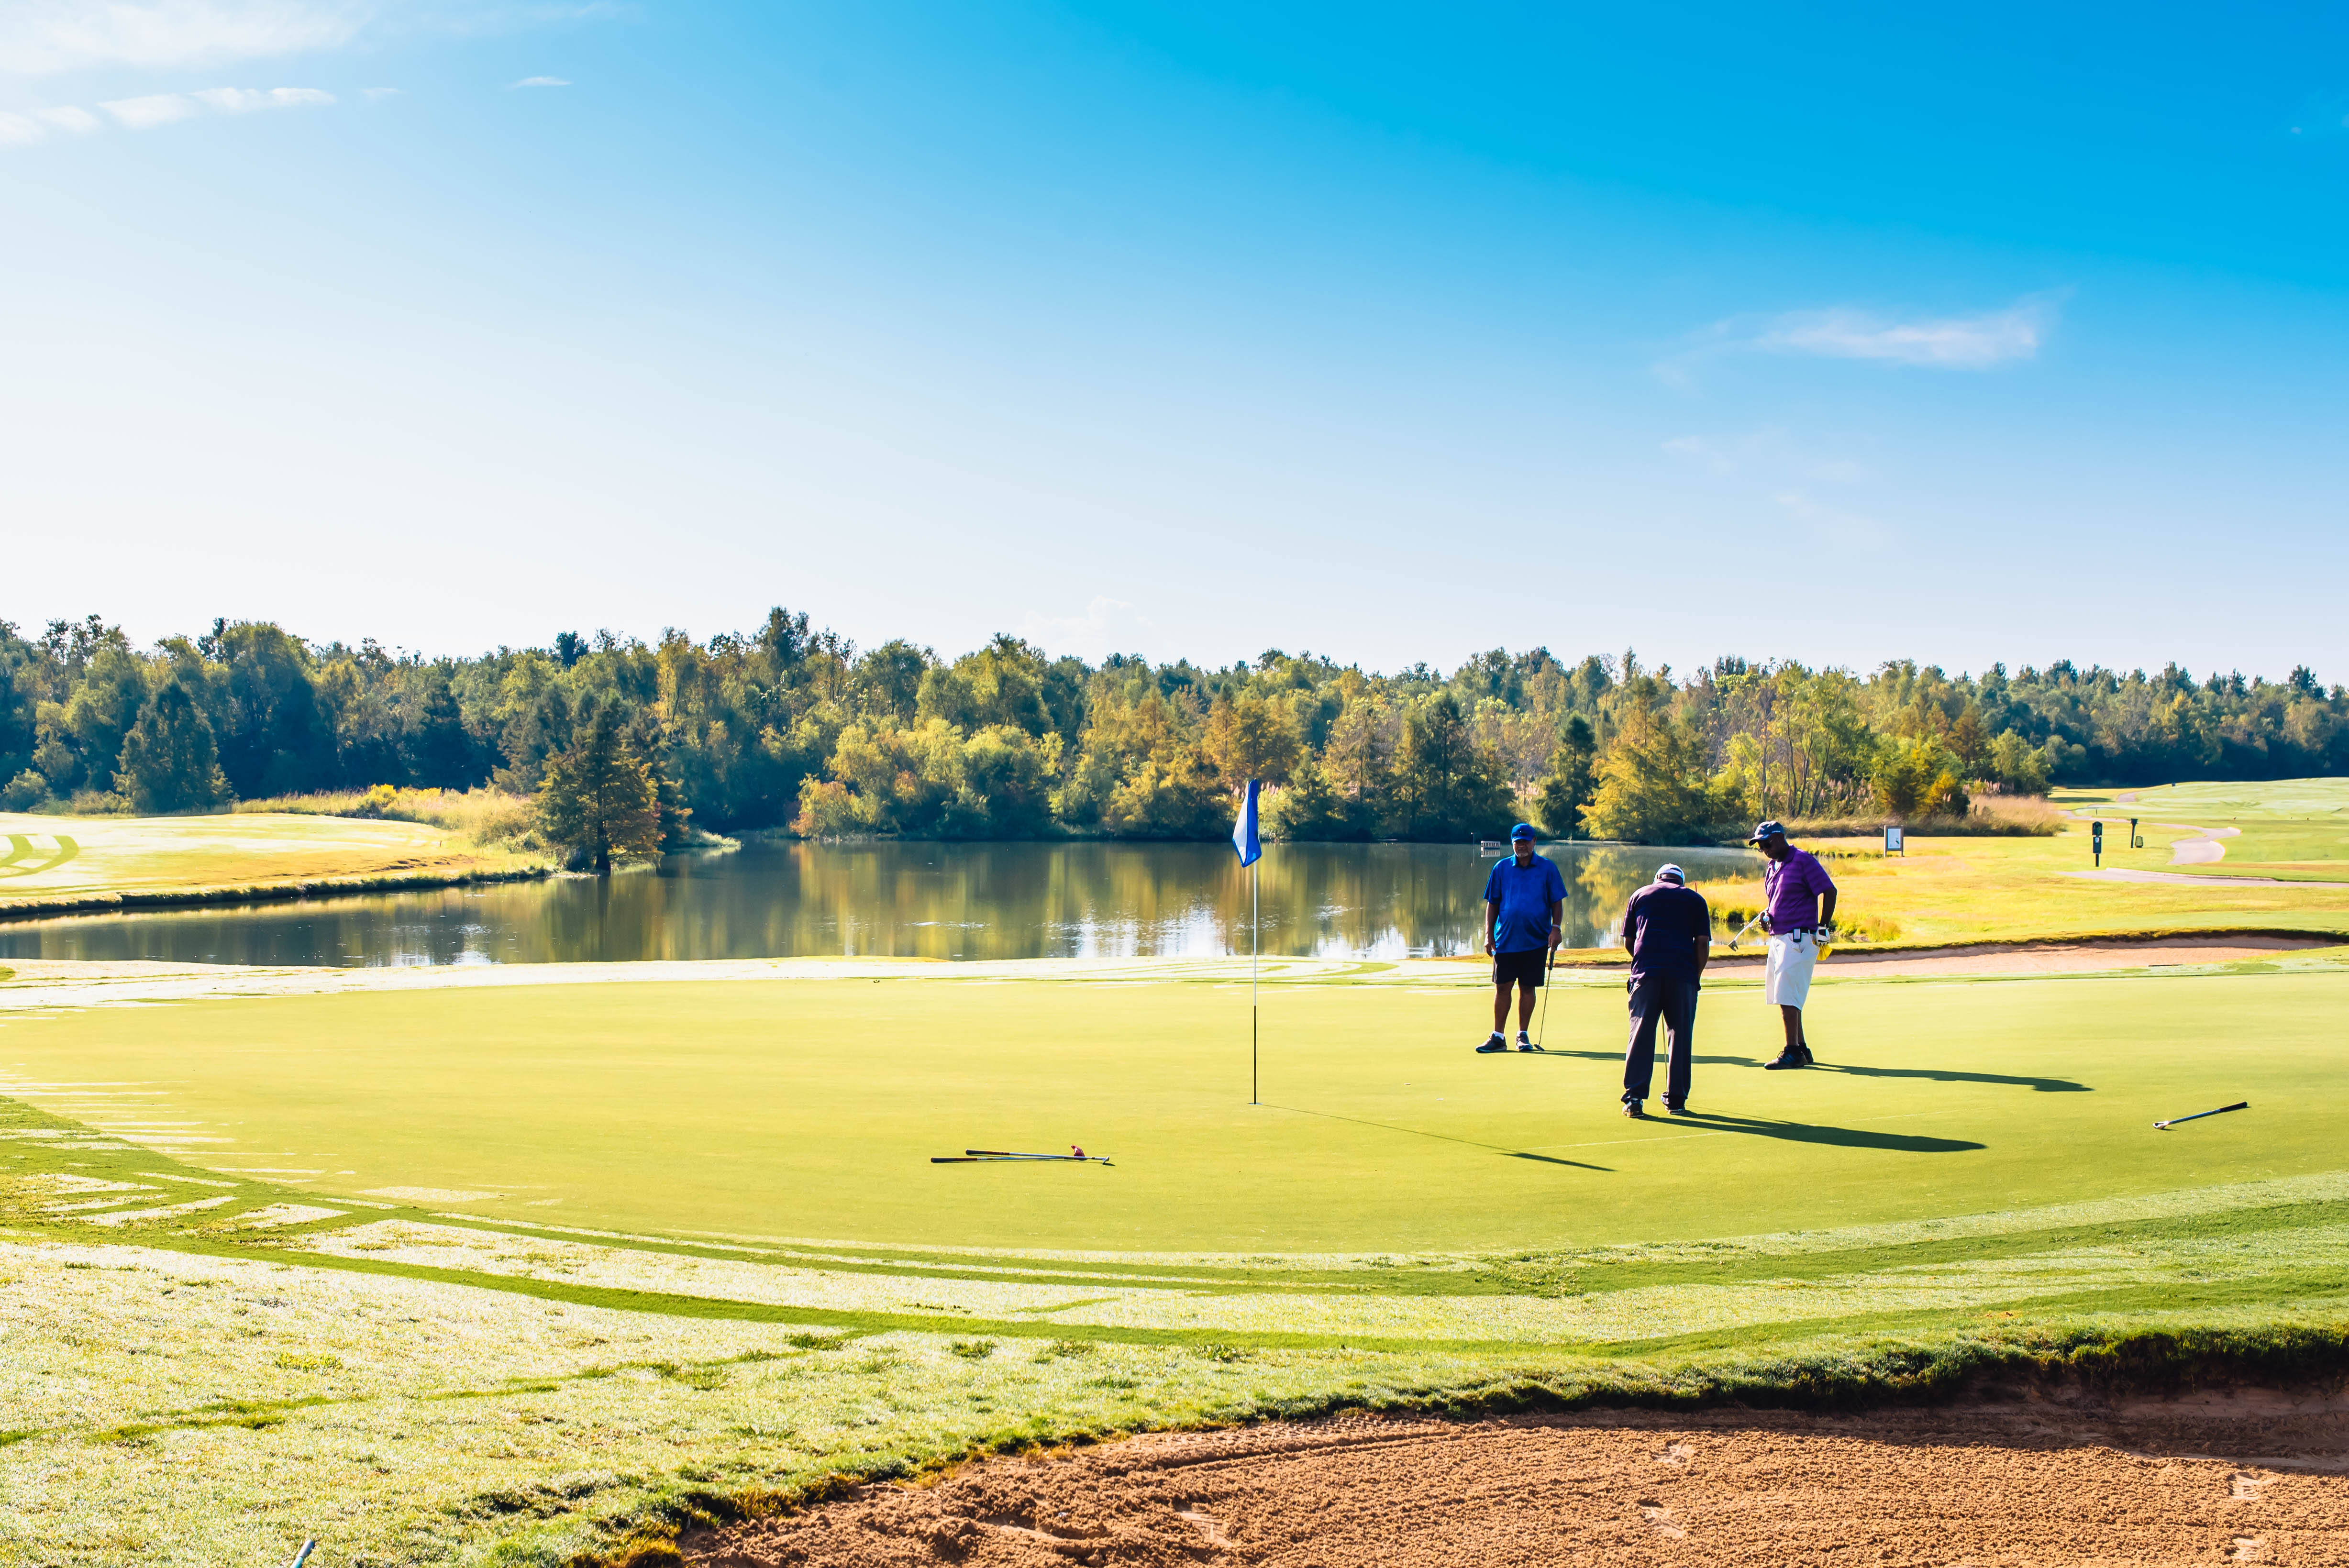
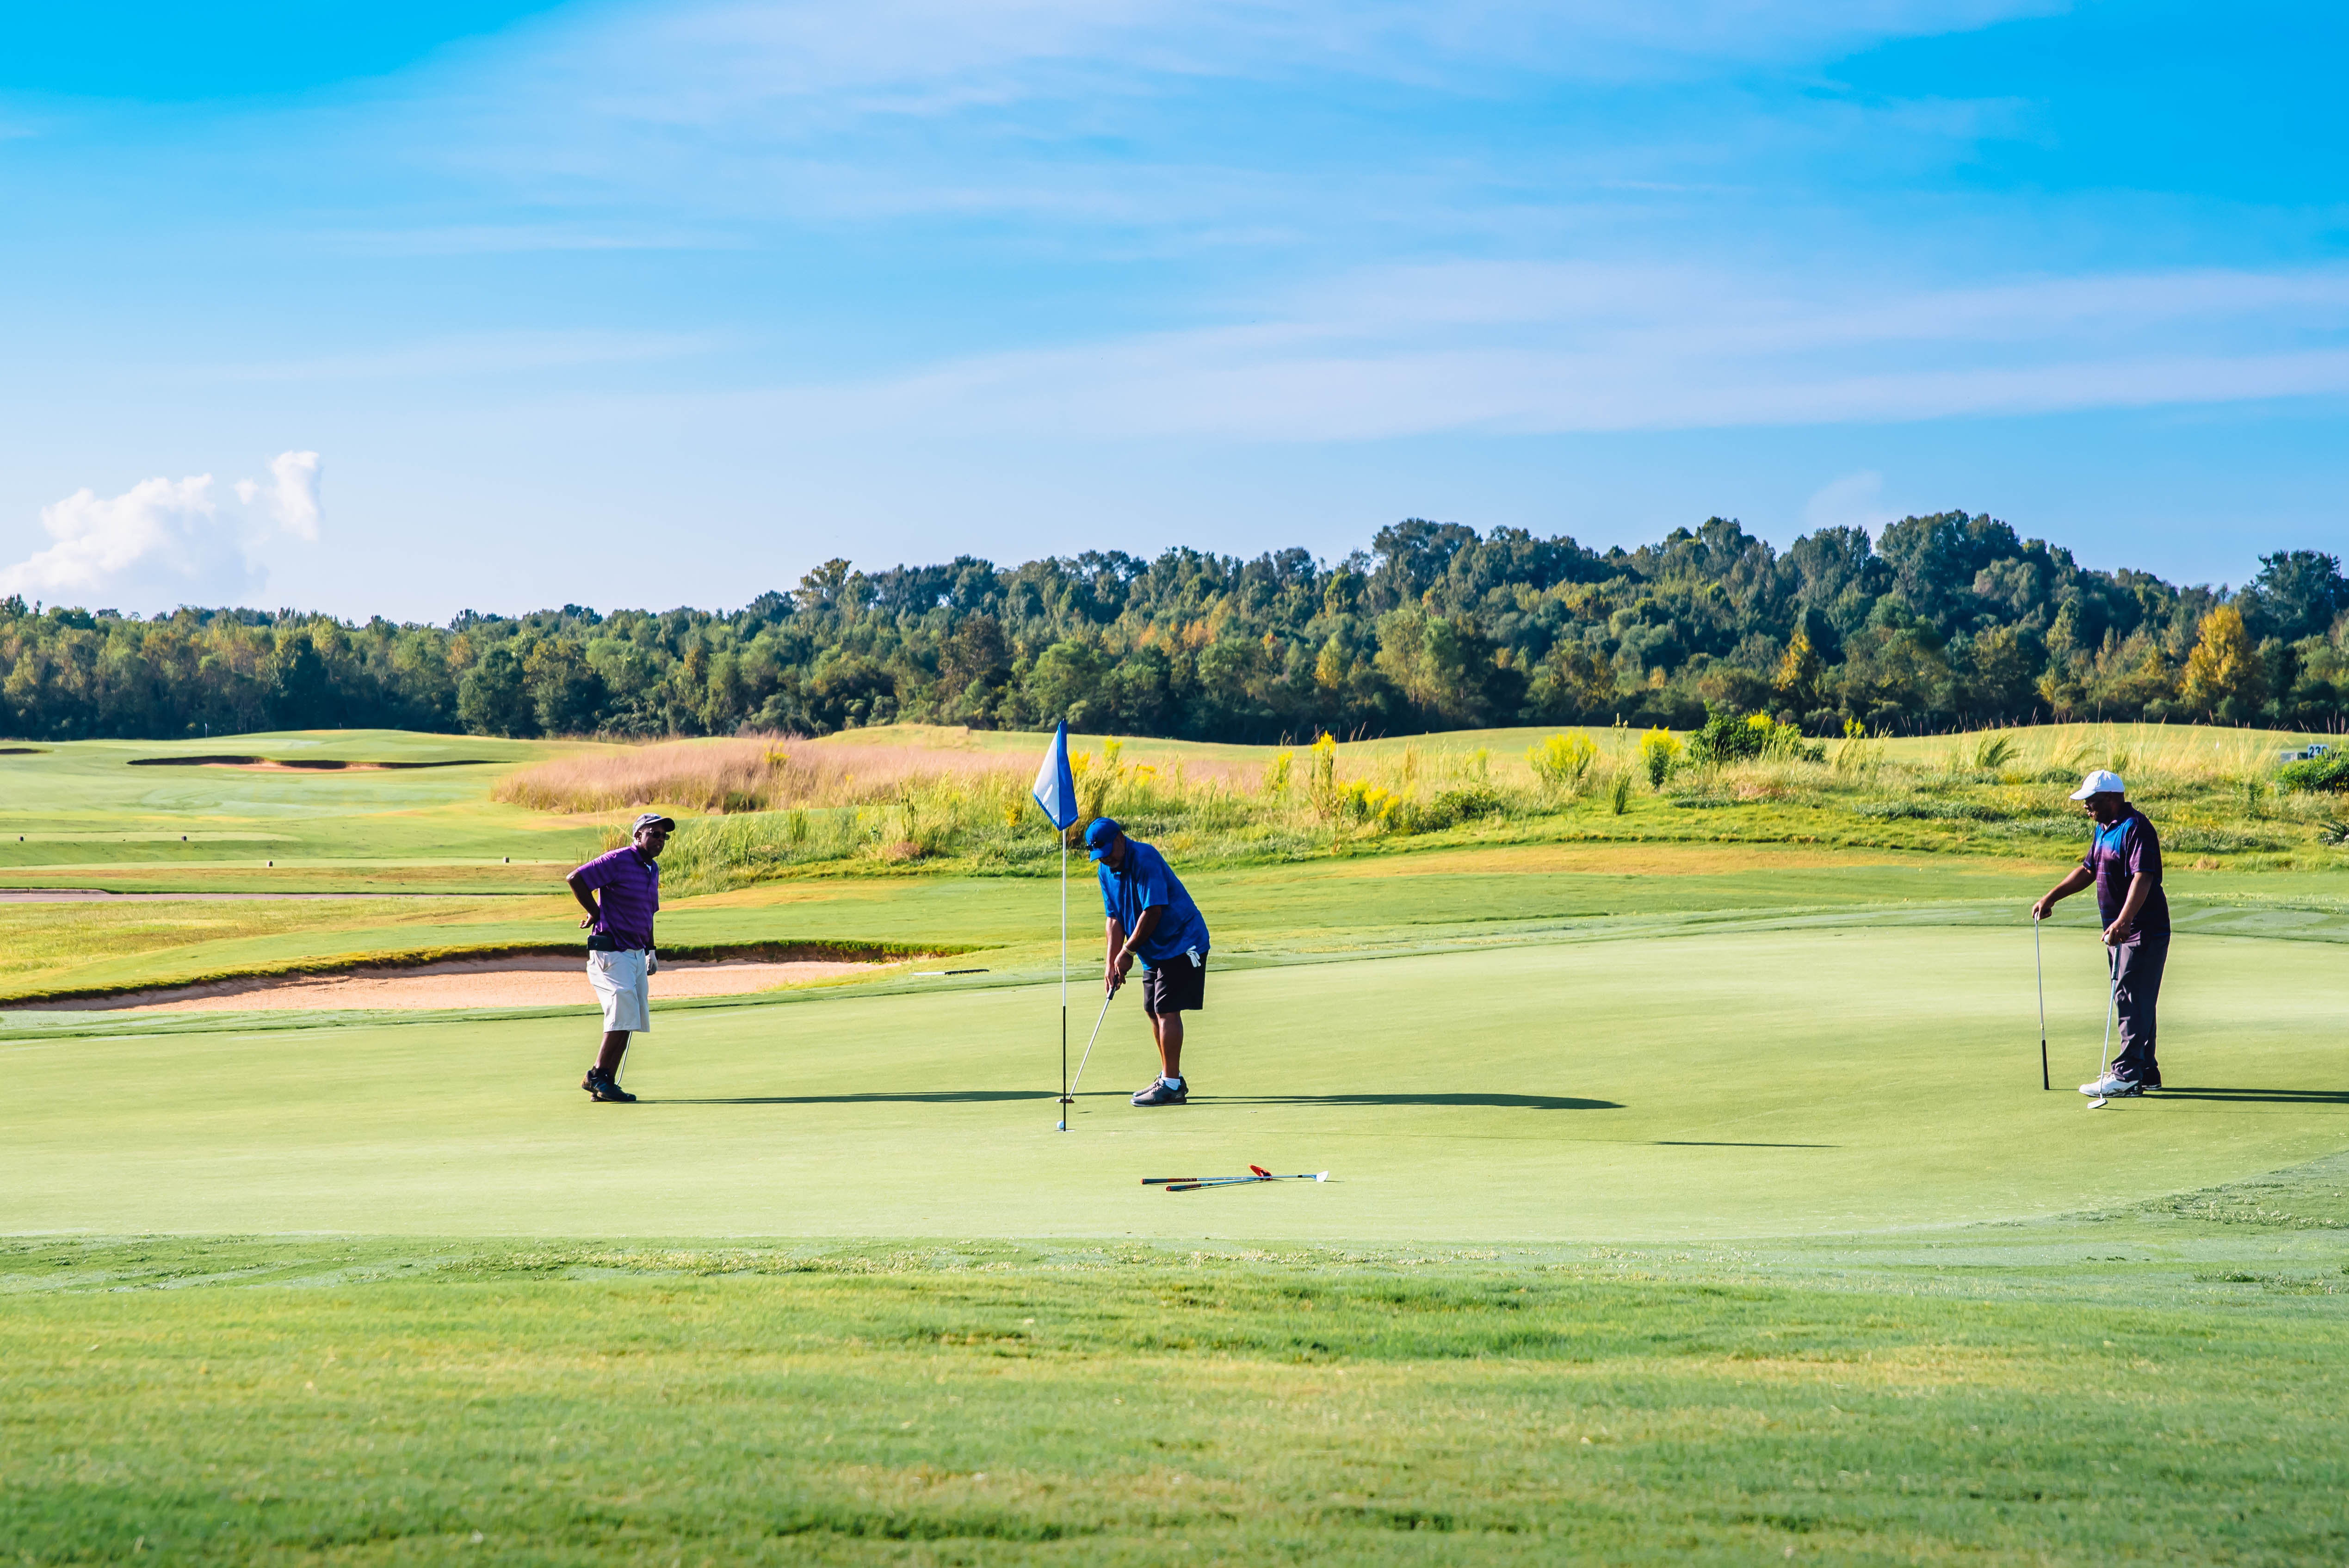
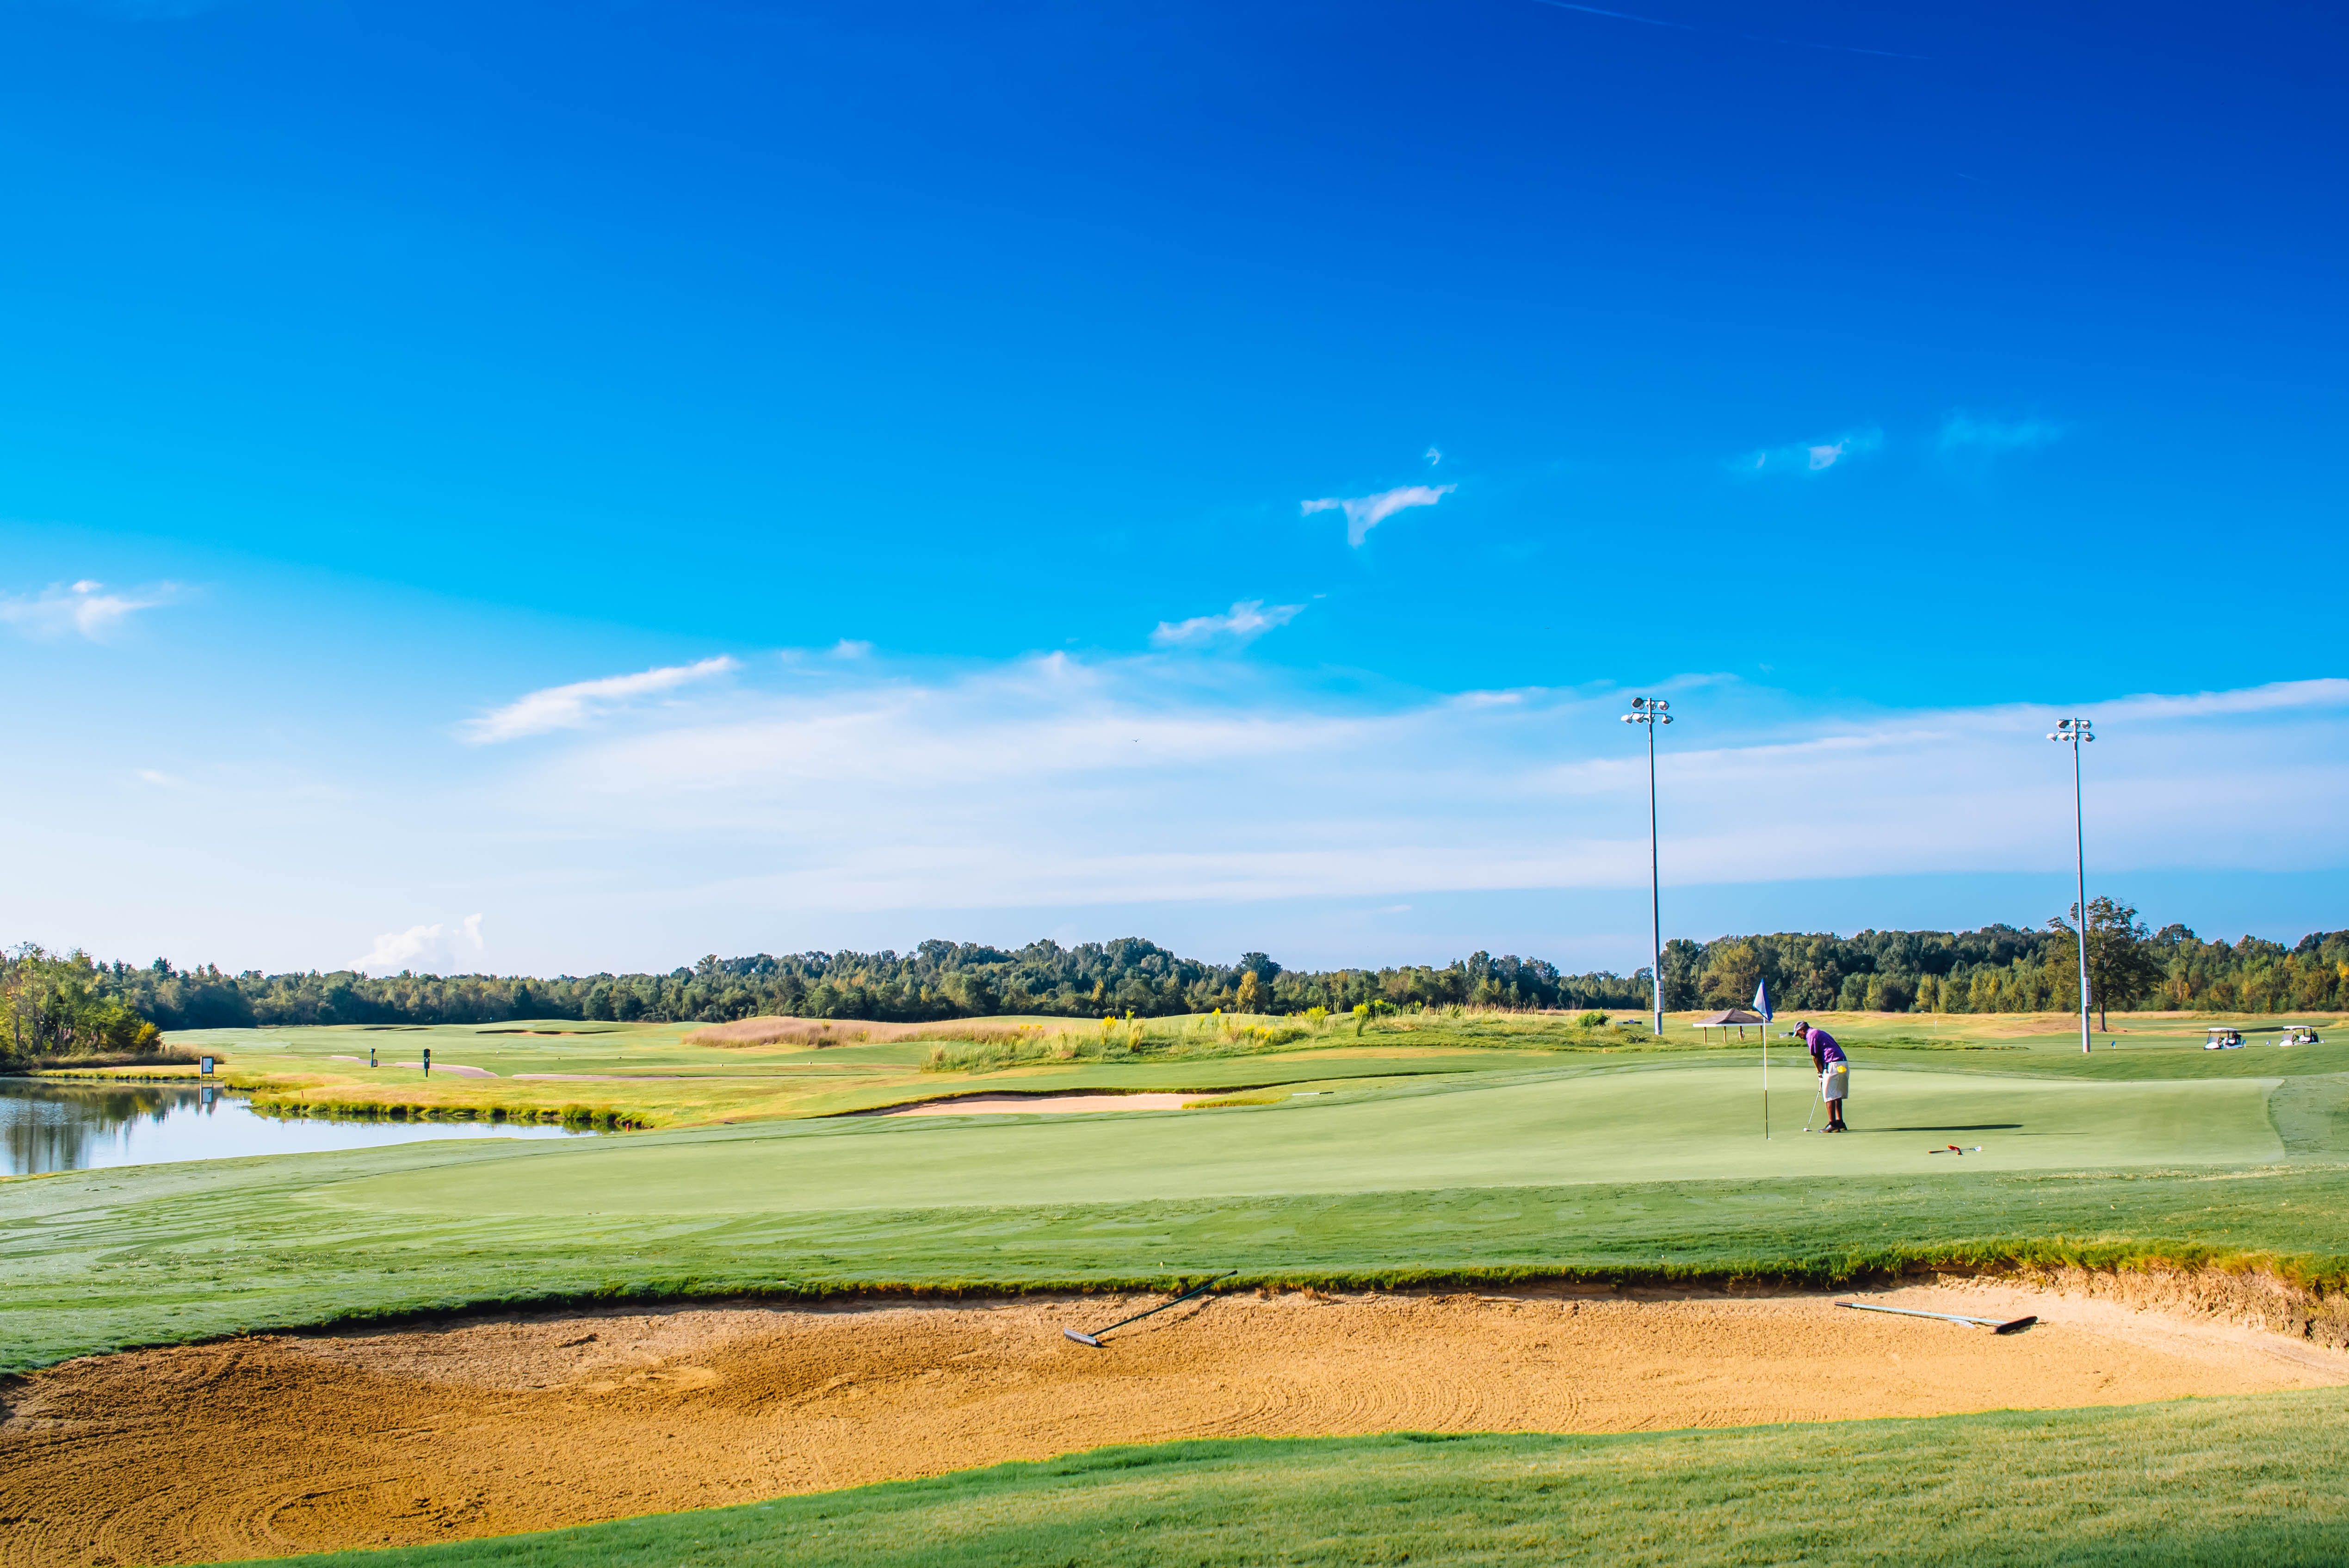
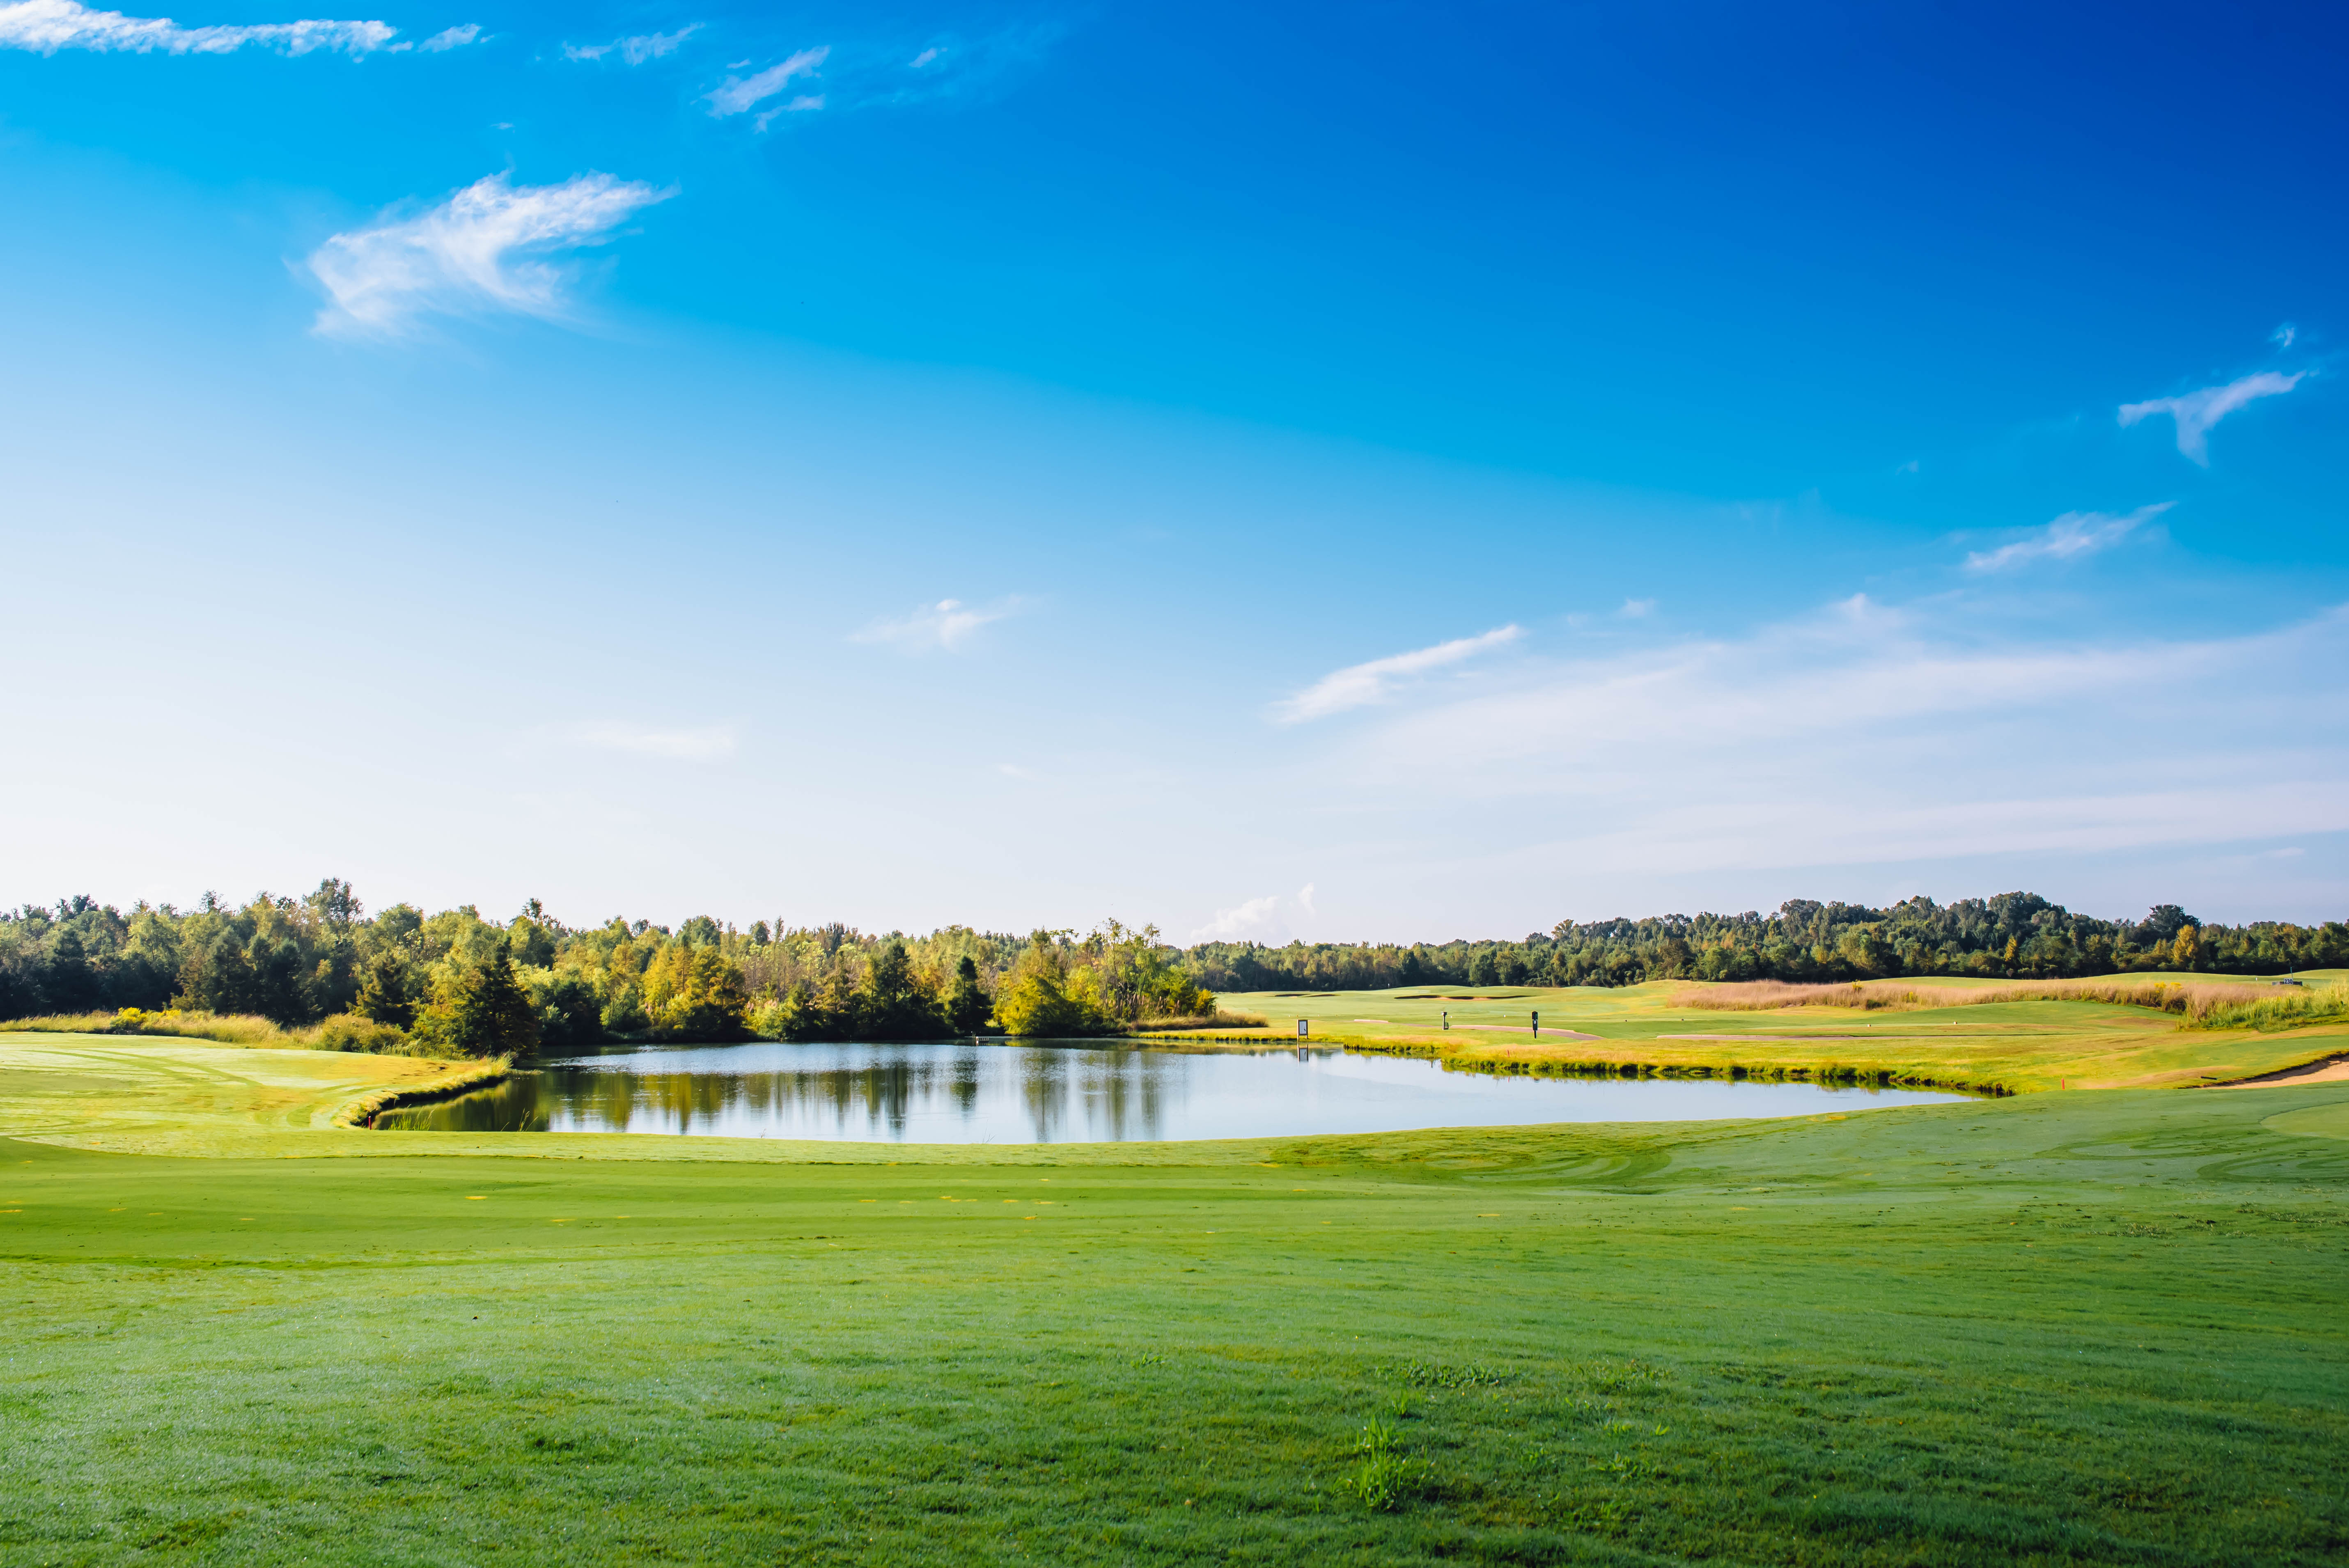
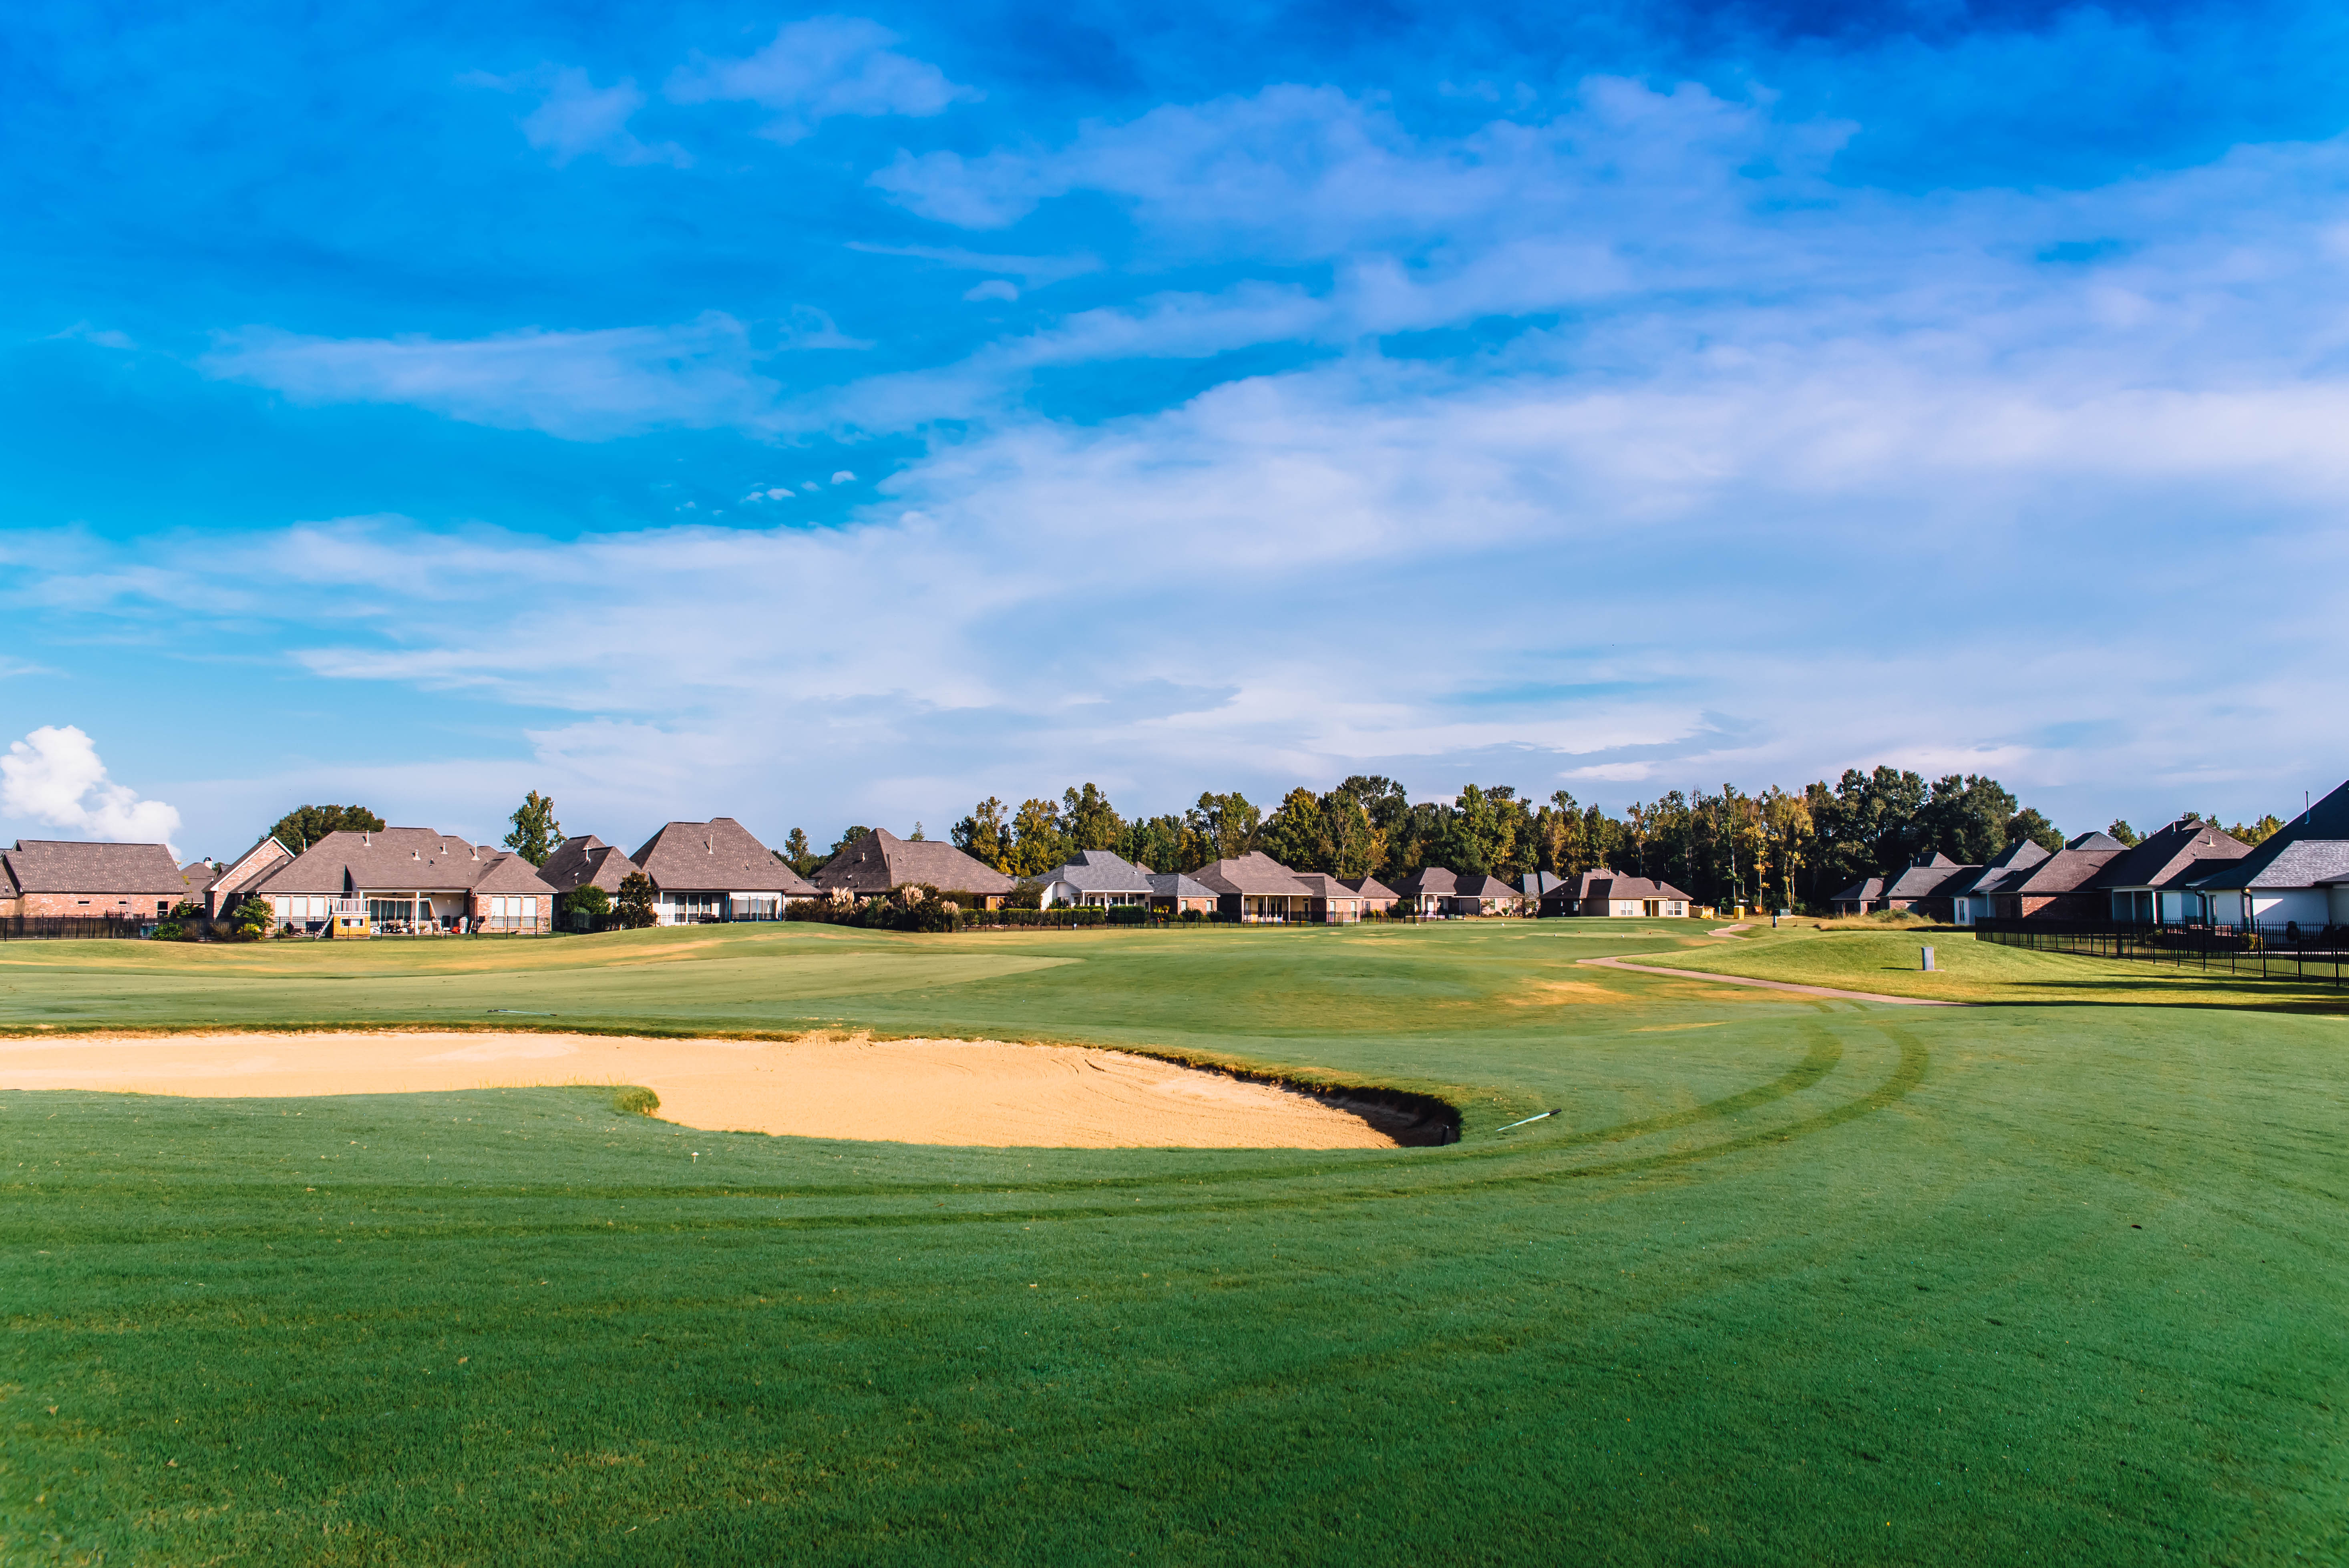
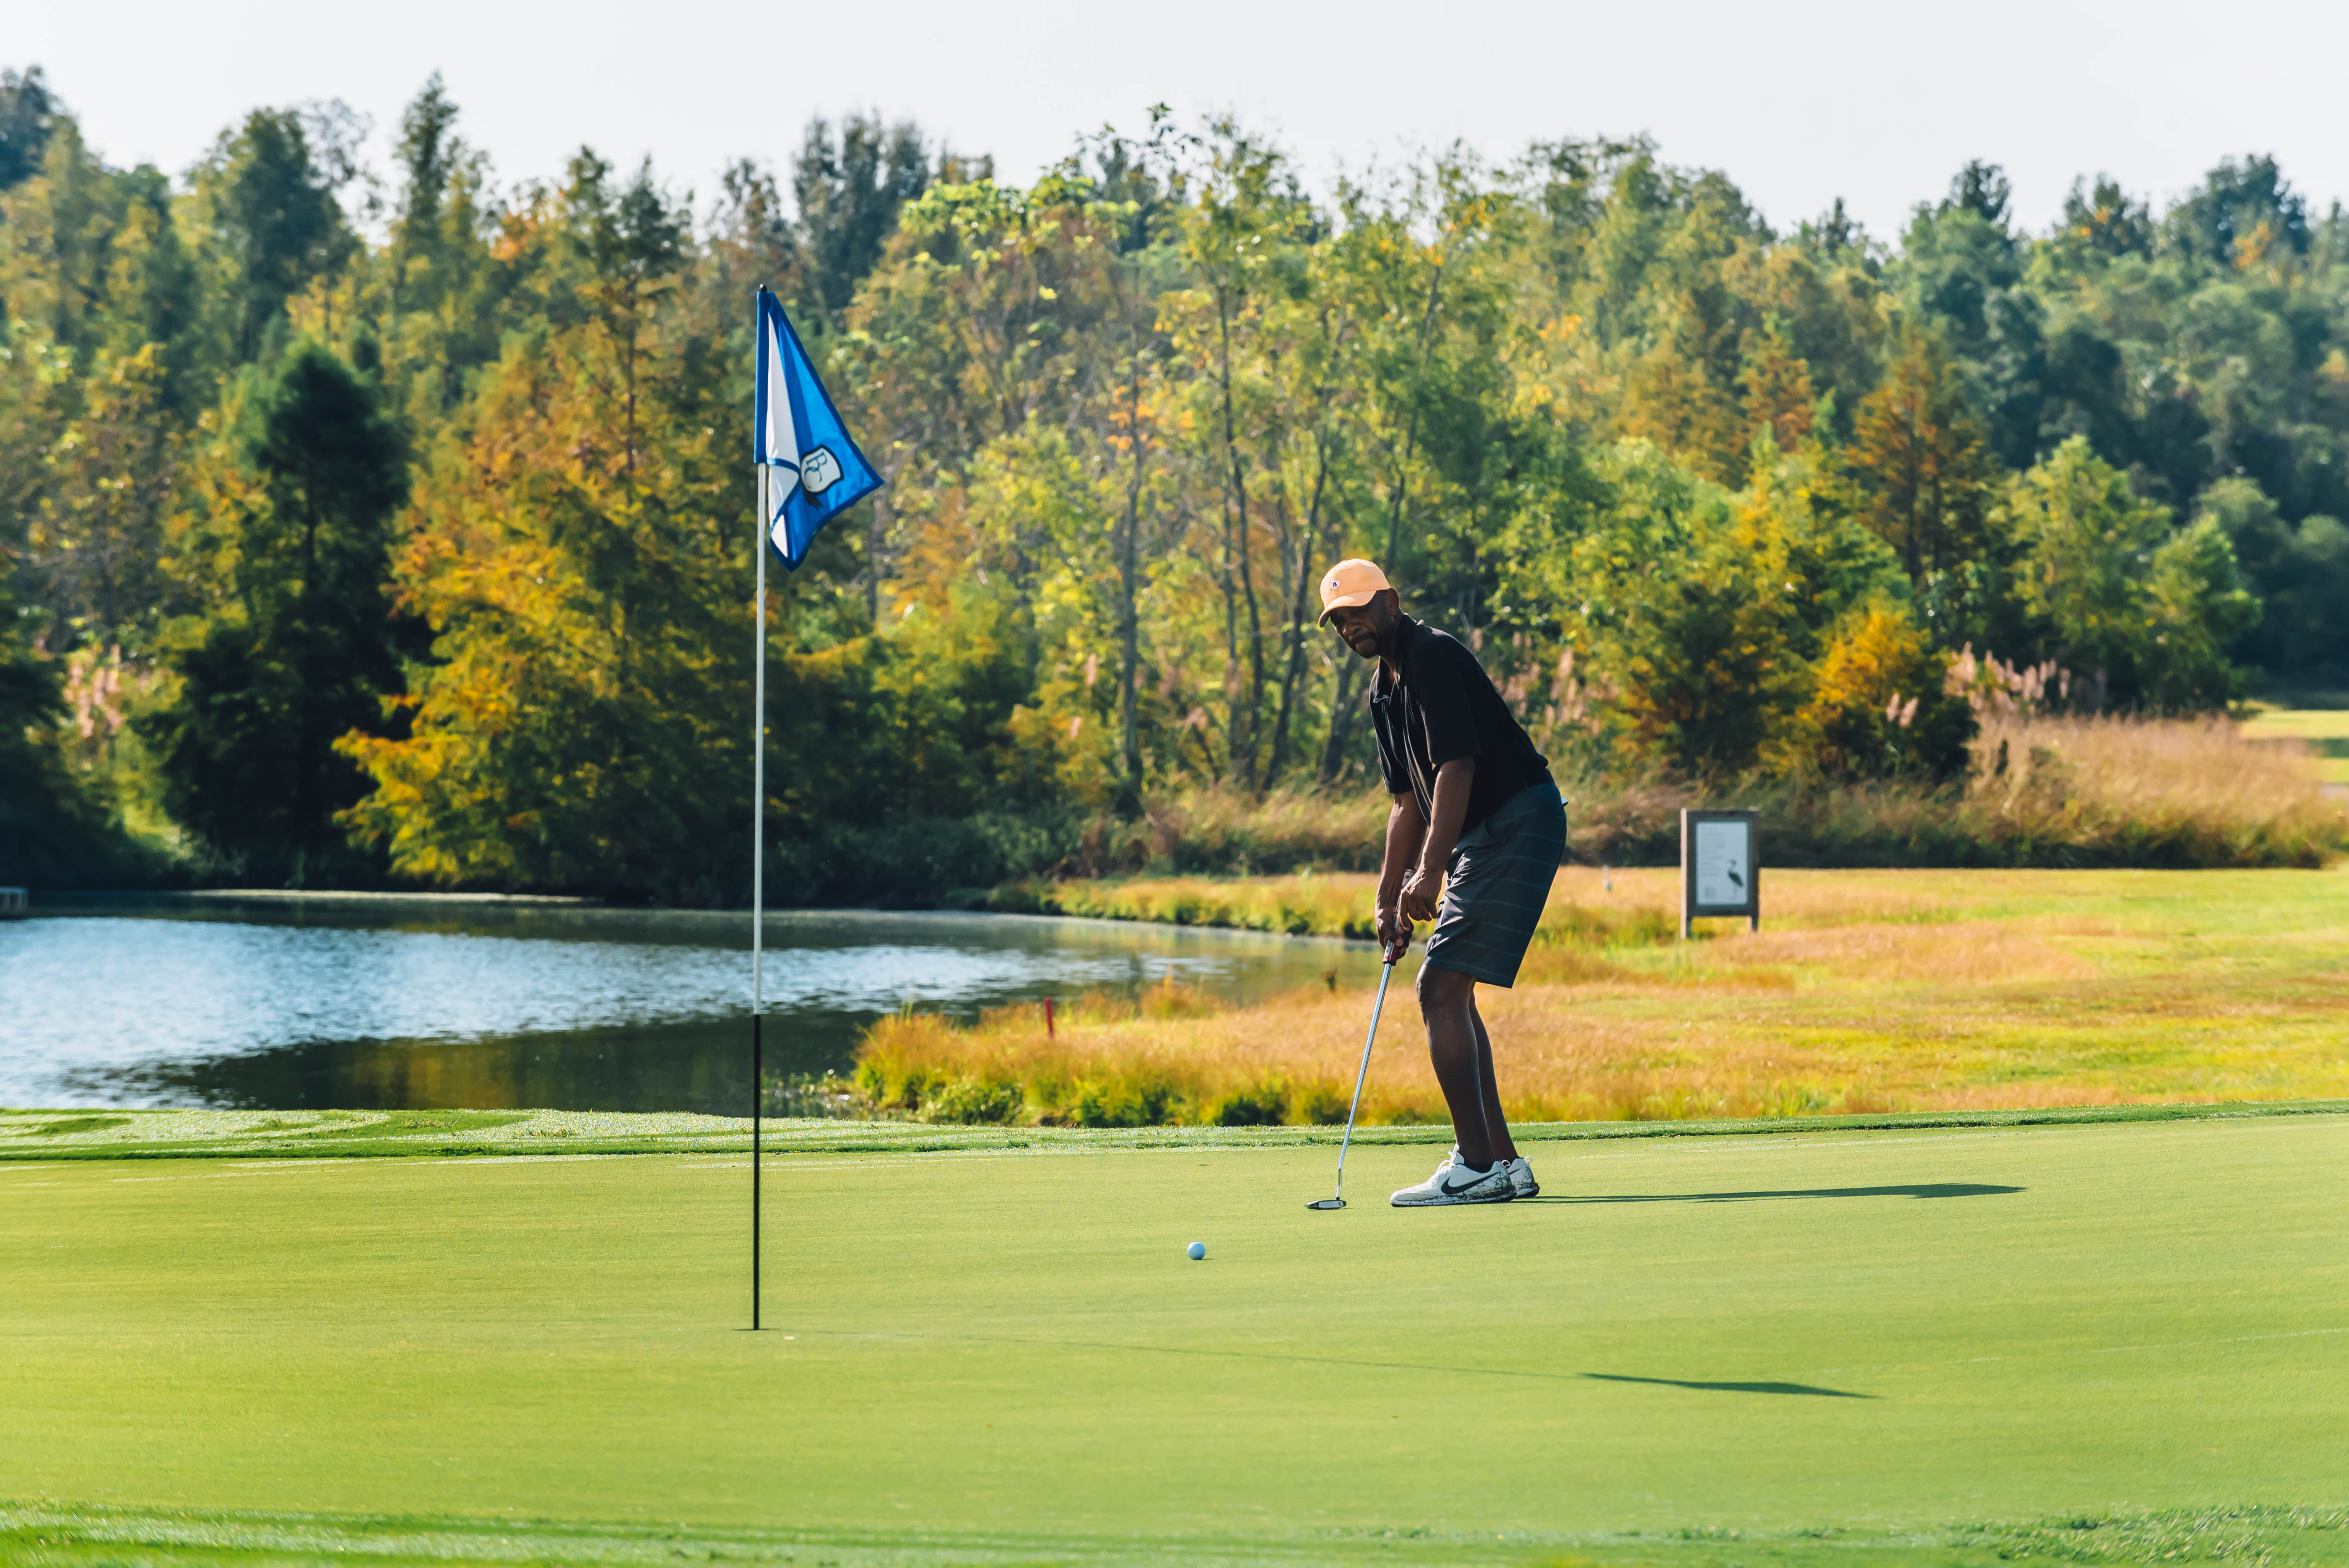
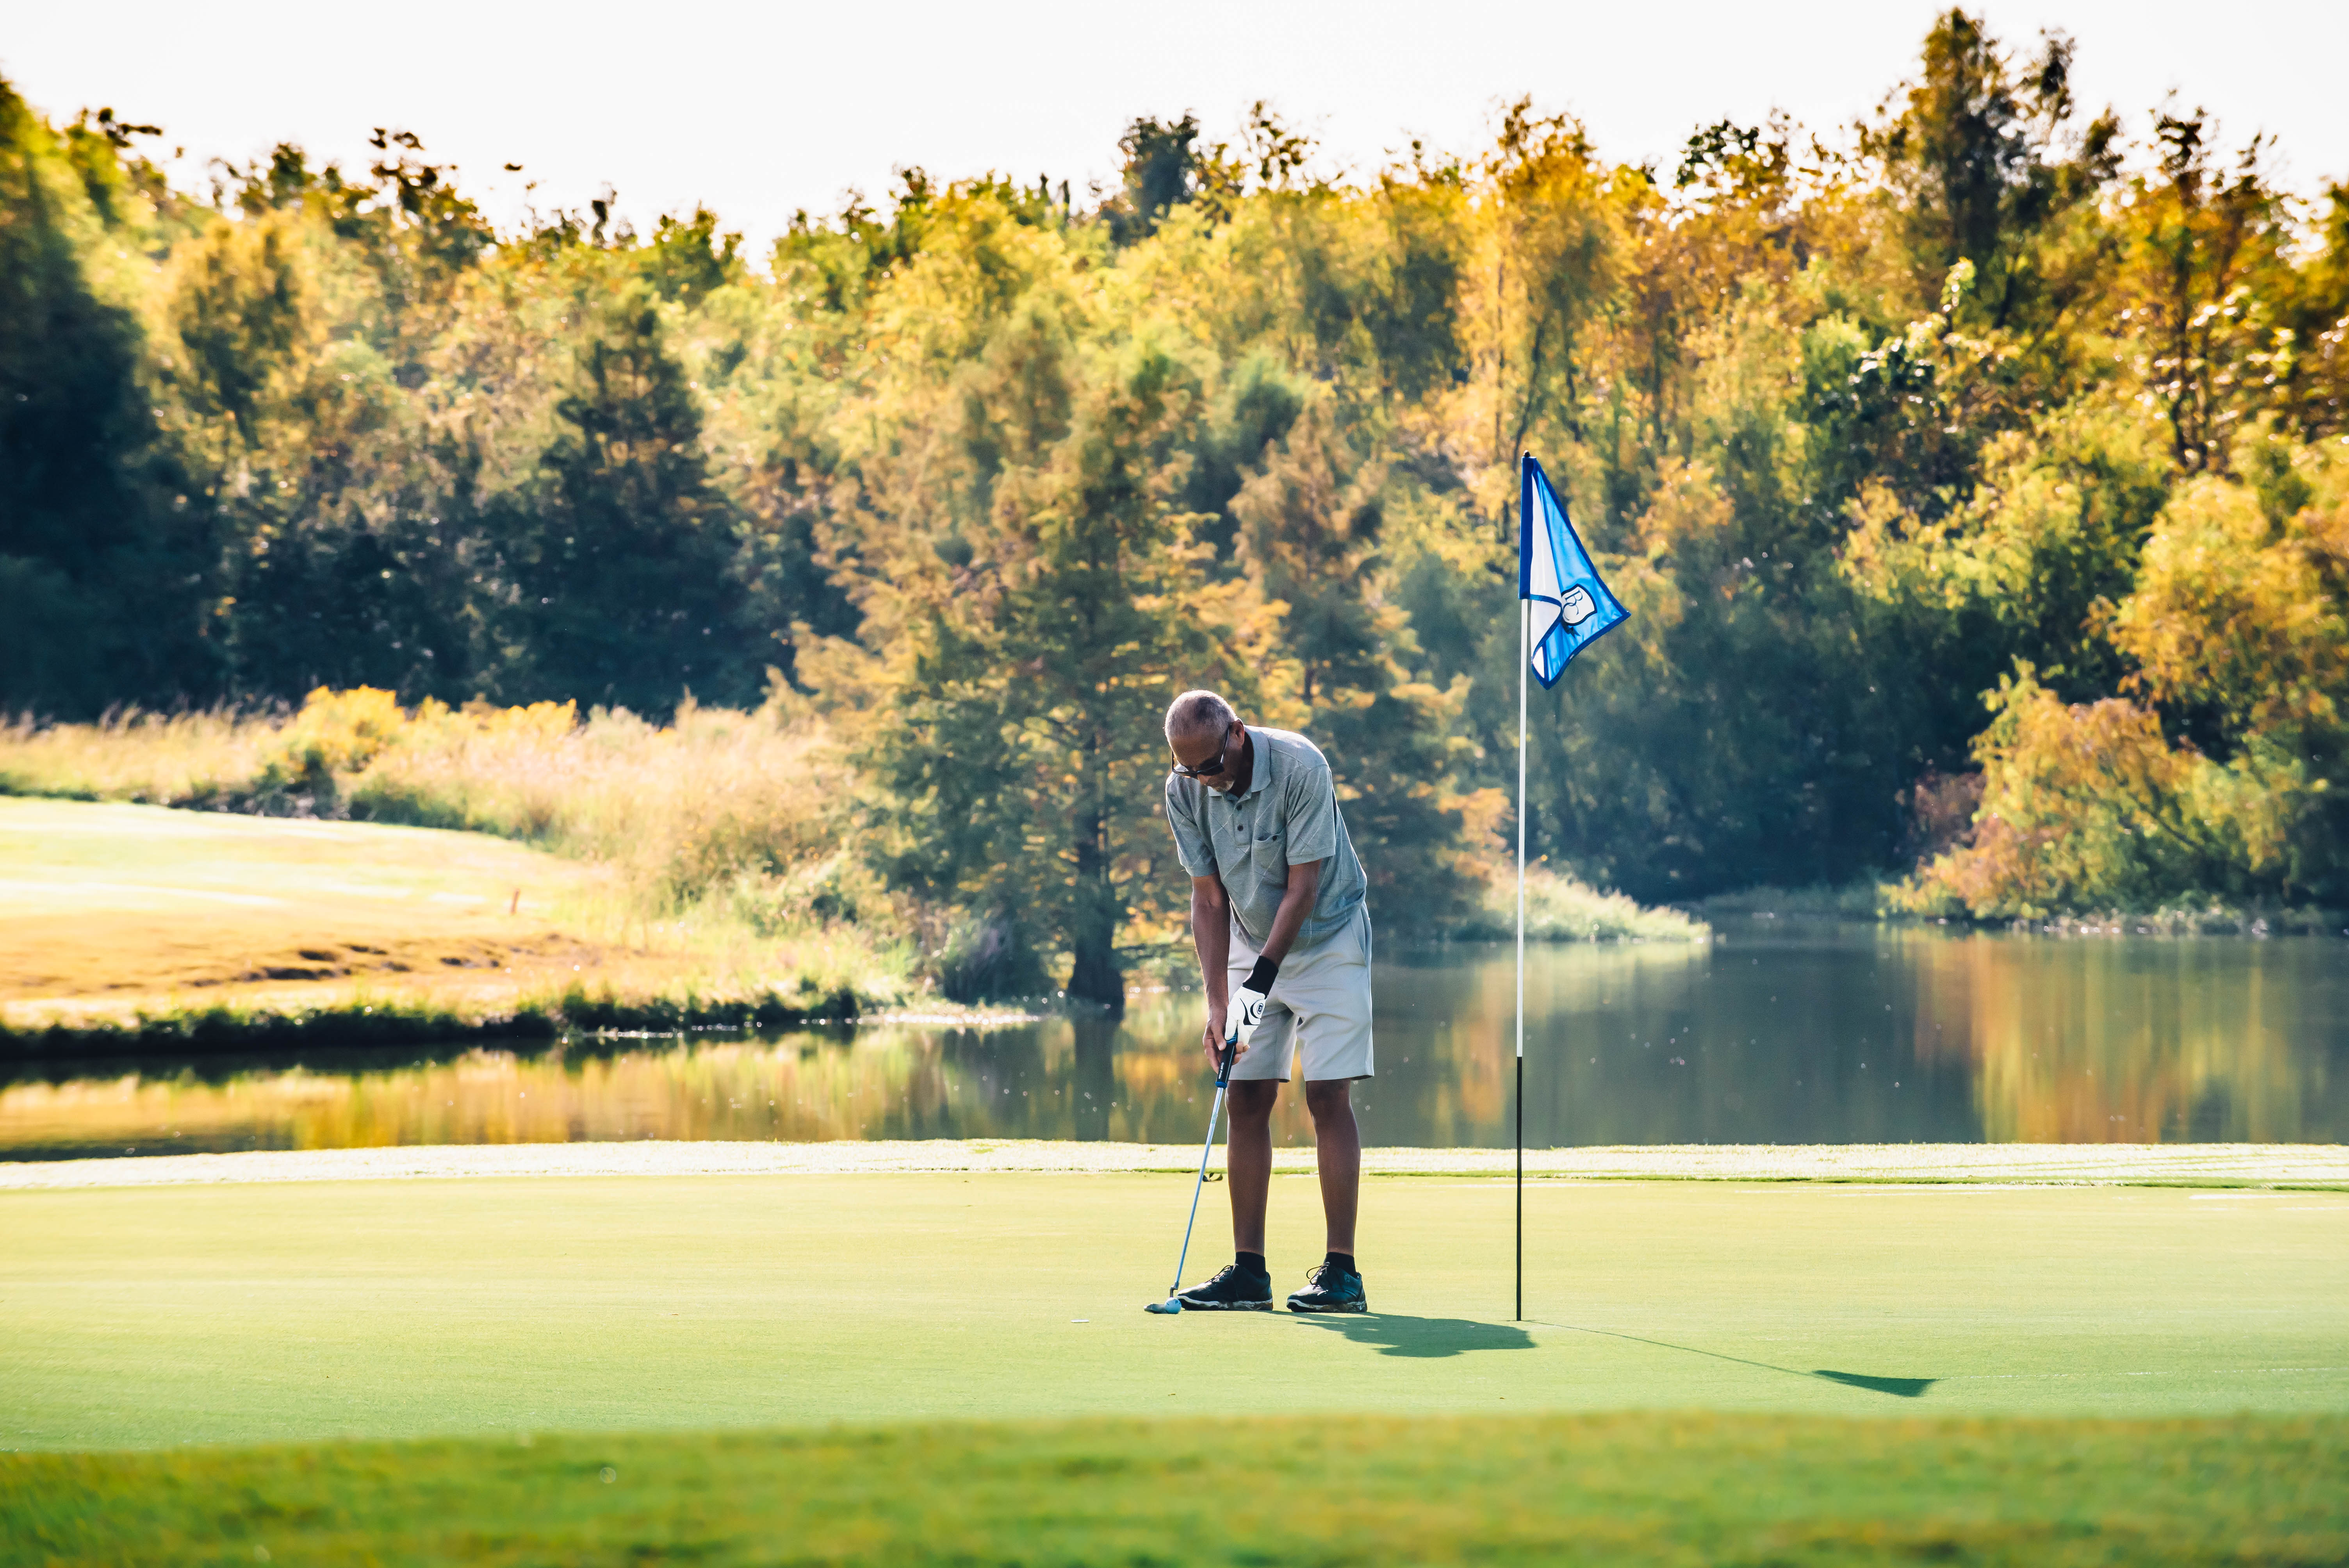
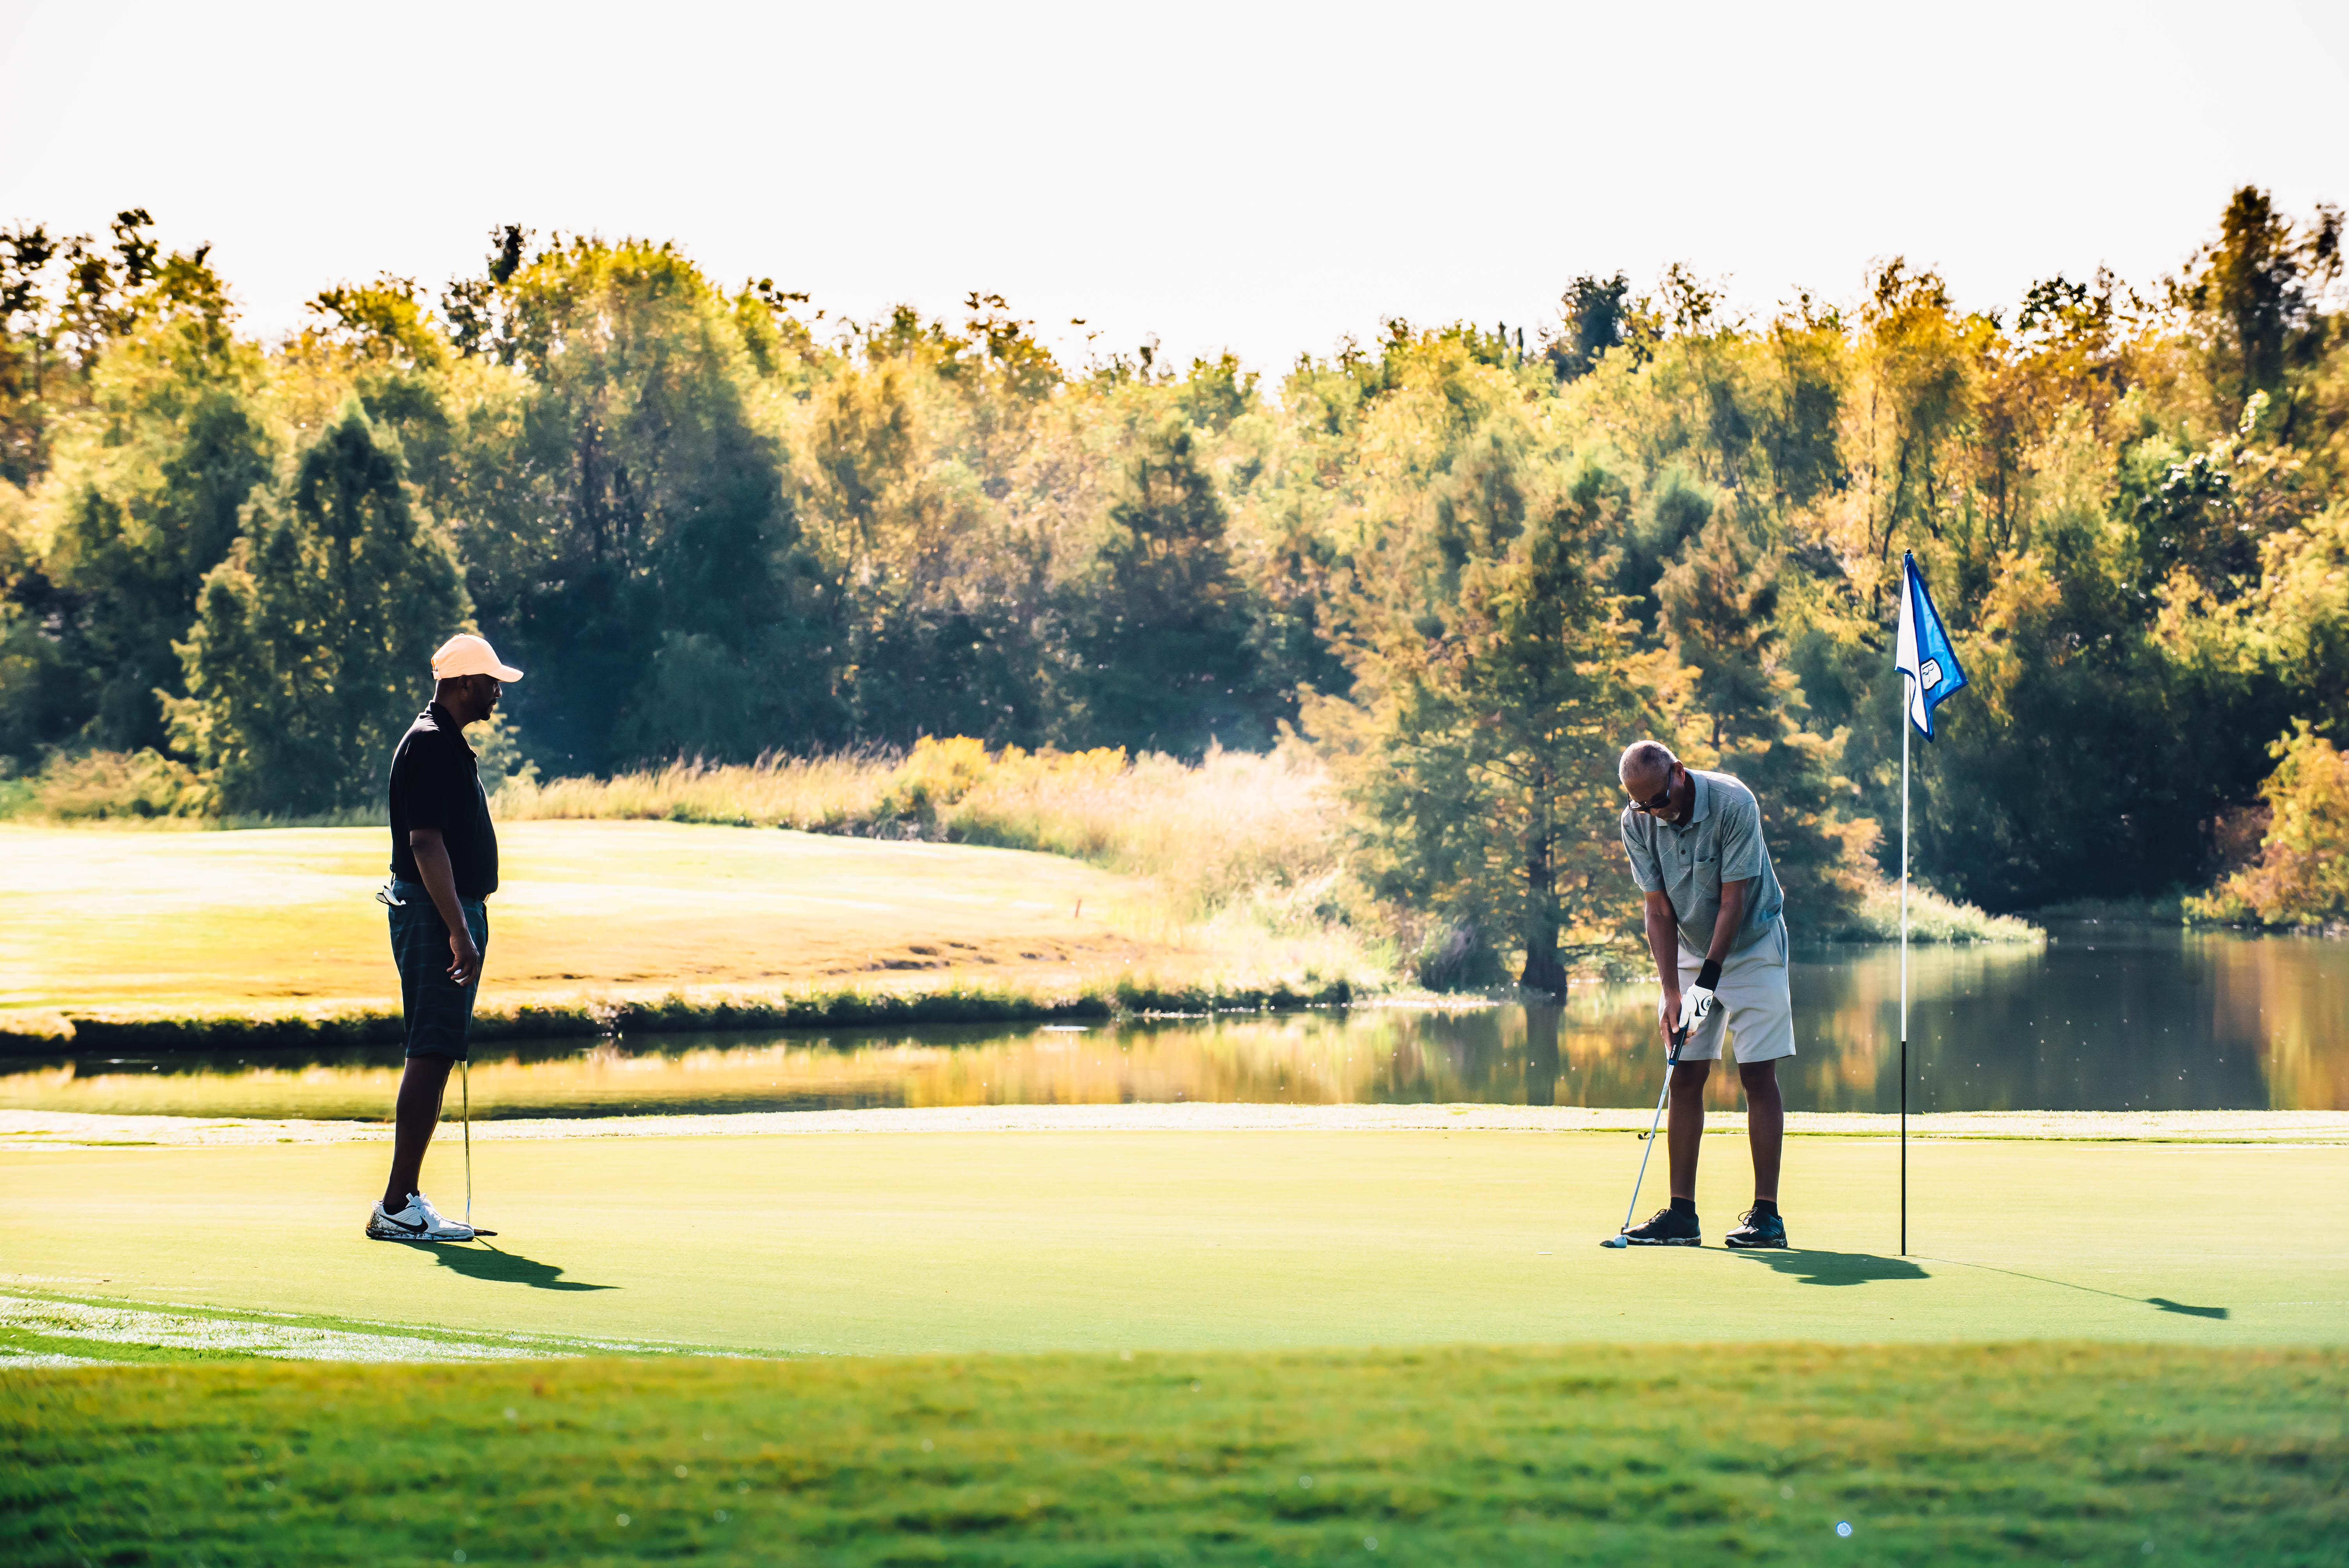
Beaver Creek features a windswept front nine and a sheltered back nine that meanders through protected wetland areas. The par 72 layout provides all golfers with unique shot-making opportunities typically experienced on everything from link style courses to those bordered by dense woods and wetlands.

Beaver Creek features a large practice facility designed to enhance golfers’ desires to improve each aspect of their game. A PGA Tour style driving range, large putting green, and a short game practice area provides the amenities typically found at famous venues.

Beaver Creek rated #1 in Louisiana by Golf Advisor

Green Fees

* Twilight begins @3pm; Super-Twilight begins @5pm; During Daylight Savings Time (2nd March Sunday to 1st November Saturday)

** Twilight begins at 1pm; Super-Twilight at 3pm, during non-Daylight Savings Time (1st November Sunday to 2nd March Saturday)

MONDAY-THURSDAY GREEN FEE WCART
Regular Round (ages 18-54) $31 $45
Senior Round (ages 55+) $24 $38
Junior (17 & younger) Round Weekdays before Twilight ($5 walking or $19 w/cart after Twilight) $18 $32
Twilight Round * $26 $34
Super Twilight Round ** $18 $26
Friday Green Fee WCart
Regular before 3 p.m. $41 $55
Senior before 3 p.m. $36 $50
Anyone after 3 p.m. $24 $38
Saturday-Sunday Green Fee WCart
Regular Round (ages 18-54) $46 $60
Senior Round (Ages: 55 and older) $36 $50
Junior Round (Ages: 17 and younger) Before Twilight rates / After Twilight rates $21/$5 $35/$19
* Twilight Round $34 $42
** Super Twilight Round $25 $33