Santa Maria Golf Course – BREC Golf

Welcome to Santa Maria

Book Now
Pay Online for Discounted Play

Pro Tip:

The opening hole at Santa Maria is a challenging par 4. At 420 yards, a lengthy tee shot is needed to have a manageable approach to a green guarded by bunkers, front and back. Parring here is a great way to start your round.

Details:

  • 437
  • 421
  • 385
  • 324
  • 261
Hole 2

Pro Tip:

With a bunker on the front left and a hazard on the right, accuracy is at a premium on this par 3. Missing the green may result in a bogey or worse.

Details:

  • 192
  • 171
  • 144
  • 126
  • 126
Hole 3

Pro Tip:

Grip it and rip it off the tee on this par 5. Only the longest shots can reach the green in two. The prudent second shot is to lay up short and right for the best angle of approach into a two tiered, sloping green.

Details:

  • 535
  • 496
  • 460
  • 439
  • 347
Hole 4

Pro Tip:

This right dogleg par 4 is a classic design from Robert Trent Jones. A fade is the preferred shot here, which should be set up with a short iron into the green. The picturesque green is heavily protected with bunkers, and a shot to the center of the green is usually the best play.

Details:

  • 383
  • 367
  • 333
  • 316
  • 316
Hole 5

Pro Tip:

This par 3 is challenging for any player every time they play it. With a pond to the left and Ward’s Creek to the right, a ball that finds dry land is an accomplishment. Parring here is something to be proud of.

Details:

  • 215
  • 170
  • 153
  • 125
  • 125
Hole 6

Pro Tip:

This left dogleg par 4 requires a straight ball off the tee. A misplaced tee shot can turn an easy par into a bogey quickly. This large, two-tiered green is easy to hit, but difficult to putt on.

Details:

  • 398
  • 371
  • 330
  • 292
  • 292
Hole 7

Pro Tip:

Finally, a reachable par 5! This slight dogleg left is guarded by a lake that runs along the fairway and green. The green is small and well protected, but any second shot around it can be converted into a birdie.

Details:

  • 504
  • 475
  • 420
  • 384
  • 384
Hole 8

Pro Tip:

This par 4 plays longer than the yardage listed due to the tight out of bounds on the left and the mounds lining the fairway on the right. The green is well guarded and shallow, requiring exact distance control.

Details:

  • 392
  • 361
  • 325
  • 310
  • 310
Hole 9

Pro Tip:

An accurate tee shot here will leave a short iron shot into the green. Be careful, though. Bunkering and out of bounds lurk on the left and trees and mounding are on the right. The green is large and receptive.

Details:

  • 361
  • 331
  • 311
  • 270
  • 270
Hole 10

Pro Tip:

Here's another short par 4 that requires an accurate tee shot. Bunkers are on the right and a lake runs along the left meaning a three wood may be the best club off the tee. With a ball in the fairway, an easy iron shot to a big green is all that is left on this easy hole.

Details:

  • 401
  • 363
  • 337
  • 308
  • 308
Hole 11

Pro Tip:

This par 3 looks daunting and rightfully so with an elevated green and a pond on the left. Any shot left will likely end up wet. At 145 yards, a shot placed to the center of the green is the safest and smartest
approach.

Details:

  • 182
  • 145
  • 132
  • 86
  • 86
Hole 12

Pro Tip:

This is the first of four challenging holes on the back nine. A dogleg left here means any shot missed to the right will leave a longer shot into the green. Using a long iron or fairway wood in this deep, large
two-tiered green, a par is something to relish.

Details:

  • 442
  • 416
  • 382
  • 338
  • 254
Hole 13

Pro Tip:

Water runs the length of the hole on the left side and makes this hole extremely difficult. The fairway slopes to the left, so start your tee shot to the right of the fairway. The elevated, two-tiered green is difficult
to manage, so any miss will be punished.

Details:

  • 403
  • 355
  • 319
  • 285
  • 285
Hole 14

Pro Tip:

This dogleg left par 4 seems simple at first. However, the fairway bunker makes cutting the corner difficult and a long iron into this elevated green can prove challenging. Any player not on the same
level as the pin will find a two-putt difficult.

Details:

  • 410
  • 376
  • 354
  • 326
  • 326
Hole 15

Pro Tip:

This number one handicap hole comes by its rating honestly. This lengthy par 5 requires three good shots and two putts to card a par. A long tee shot and an accurate second will leave a challenging iron shot into a steeply, elevated green surrounded by water and bunkers.

Details:

  • 575
  • 556
  • 509
  • 442
  • 442
Hole 16

Pro Tip:

This par 4 has large oaks lining the right side of the fairway and bunkers on the left. An accurate tee shot is essential to score well here. The green has a bunker to the right and water surrounding it on the left. It's not an overly difficult hole but one that demands your attention.

Details:

  • 393
  • 373
  • 330
  • 282
  • 282
Hole 17

Pro Tip:

One of the prettiest tee views on the course, this downhill par 3 plays slightly shorter than the yardage implies. The green slopes right to left, so any shot that lands right of the pin will track to the hole. But
be careful, this also means any shot drawing left may end up in the water.

Details:

  • 181
  • 149
  • 126
  • 102
  • 102
Hole 18

Pro Tip:

Santa Maria’s signature hole, the par 5 18th, requires and an accurate tee shot as the fairway is well bunkered with water on the right side. This finishing hole is the ultimate risk/reward opportunity. Be careful as the green slopes towards the water and is hard to read. A birdie here will be sure to keep you coming back for more.

Details:

  • 516
  • 474
  • 450
  • 433
  • 433
Hole 1

Course Information

  • LOCATION

    18460 Santa Maria Parkway, Baton Rouge, LA 70810

  • PHONE

    225-752-9667

  • HOURS

    Course
    Open daily: 7 a.m.-sunset

    Clubhouse:
    Open daily: 6:30 a.m.-sunset

  • COURSE STAFF

    Manager: Mike Johnson, PGA
    Assistant Managers: B.J. Taillon & Brent David

    Golf Course Superintendent: Joshua Adams, GCSAA

  • EMAIL

    santamariagolf@brec.org

Baton Rouge WEATHER

About Santa Maria

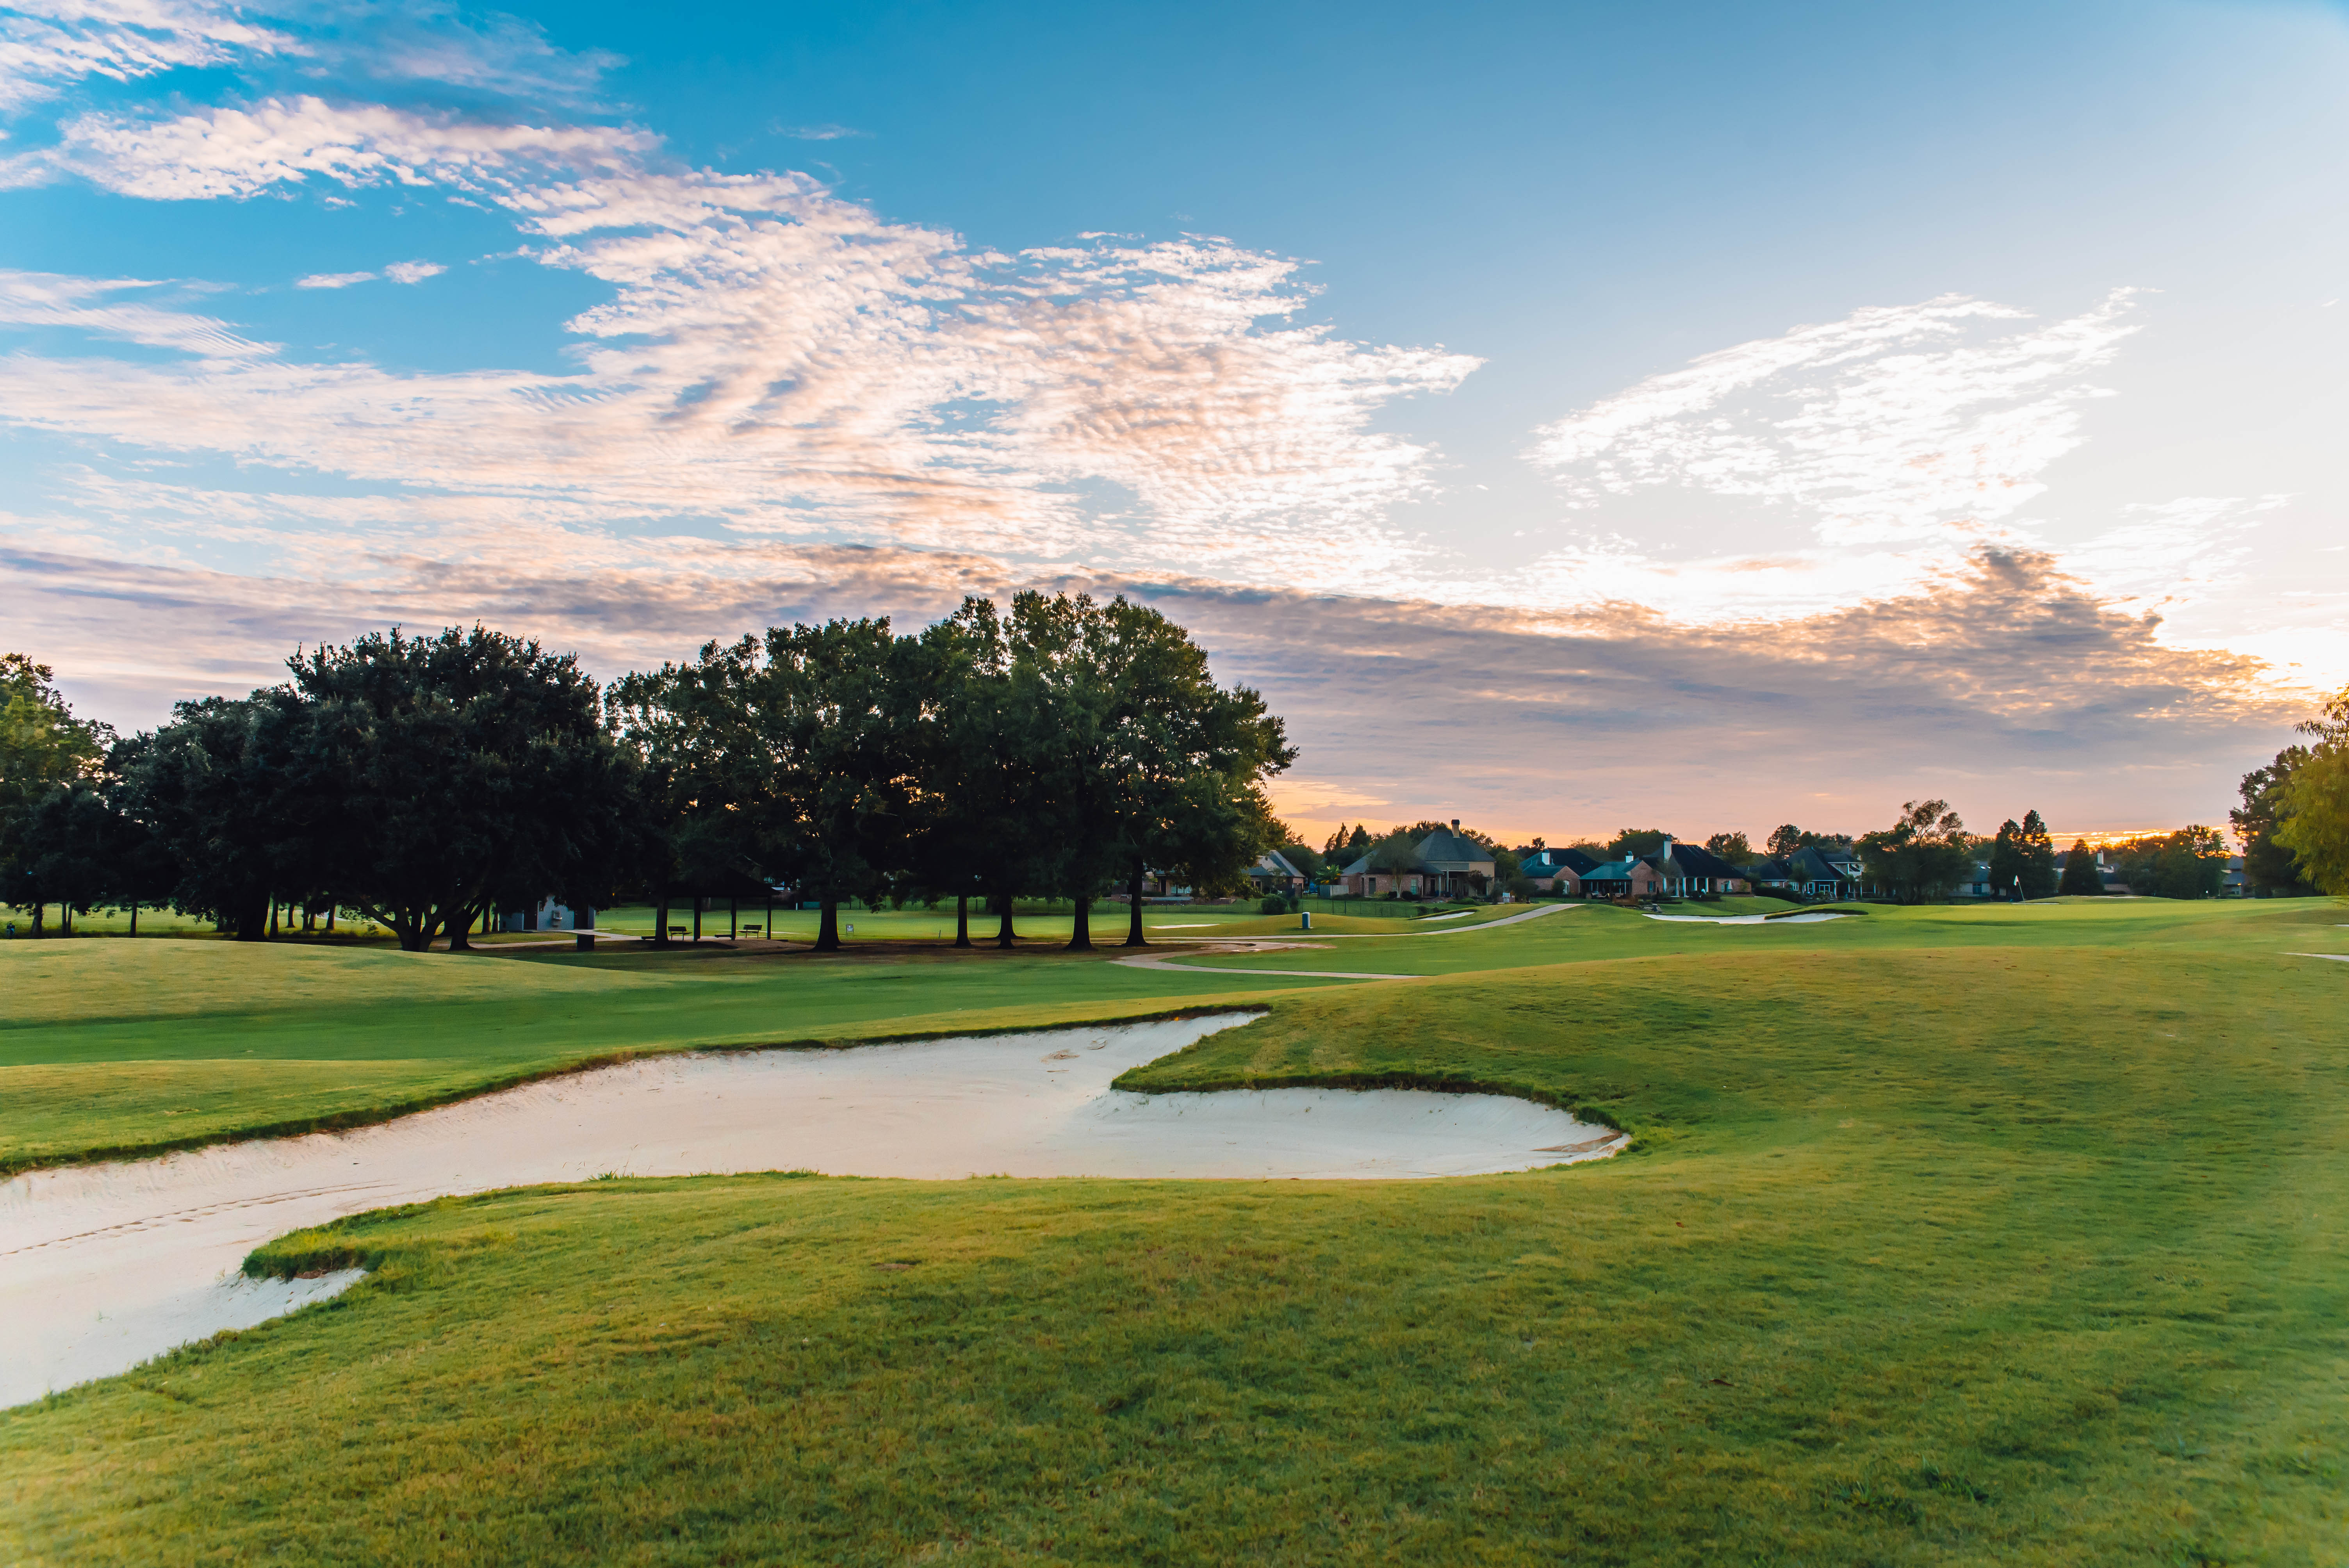
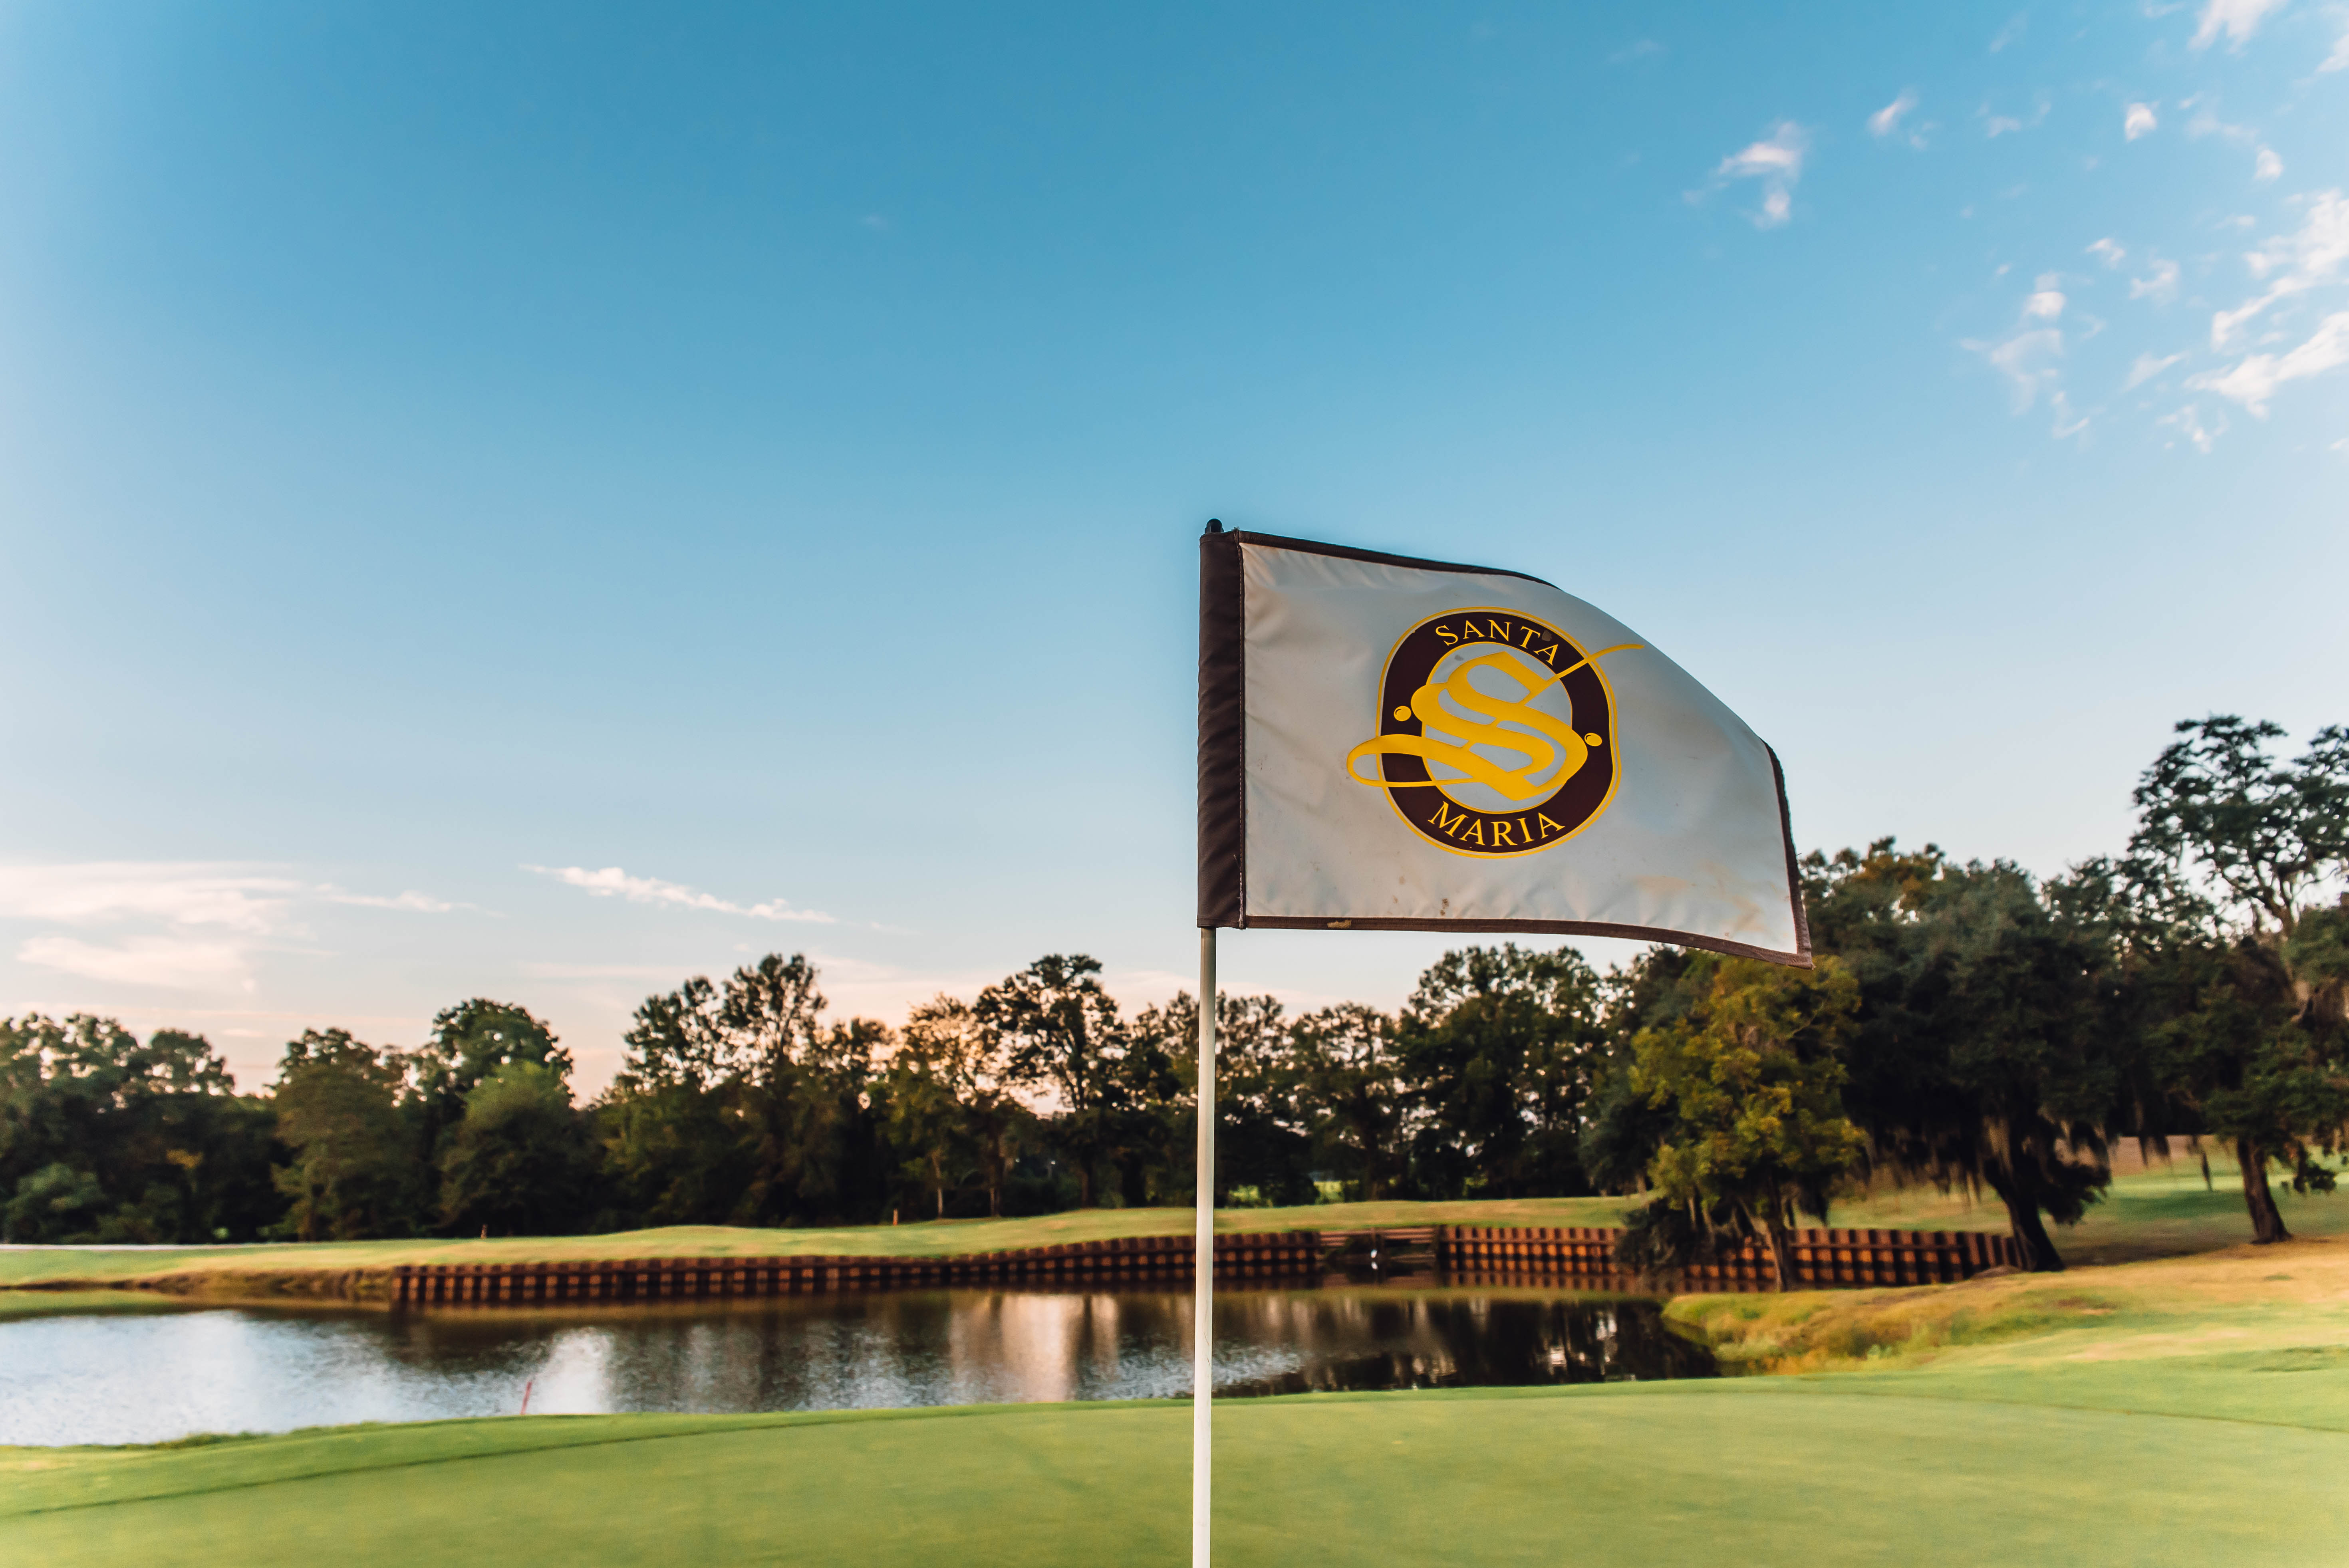
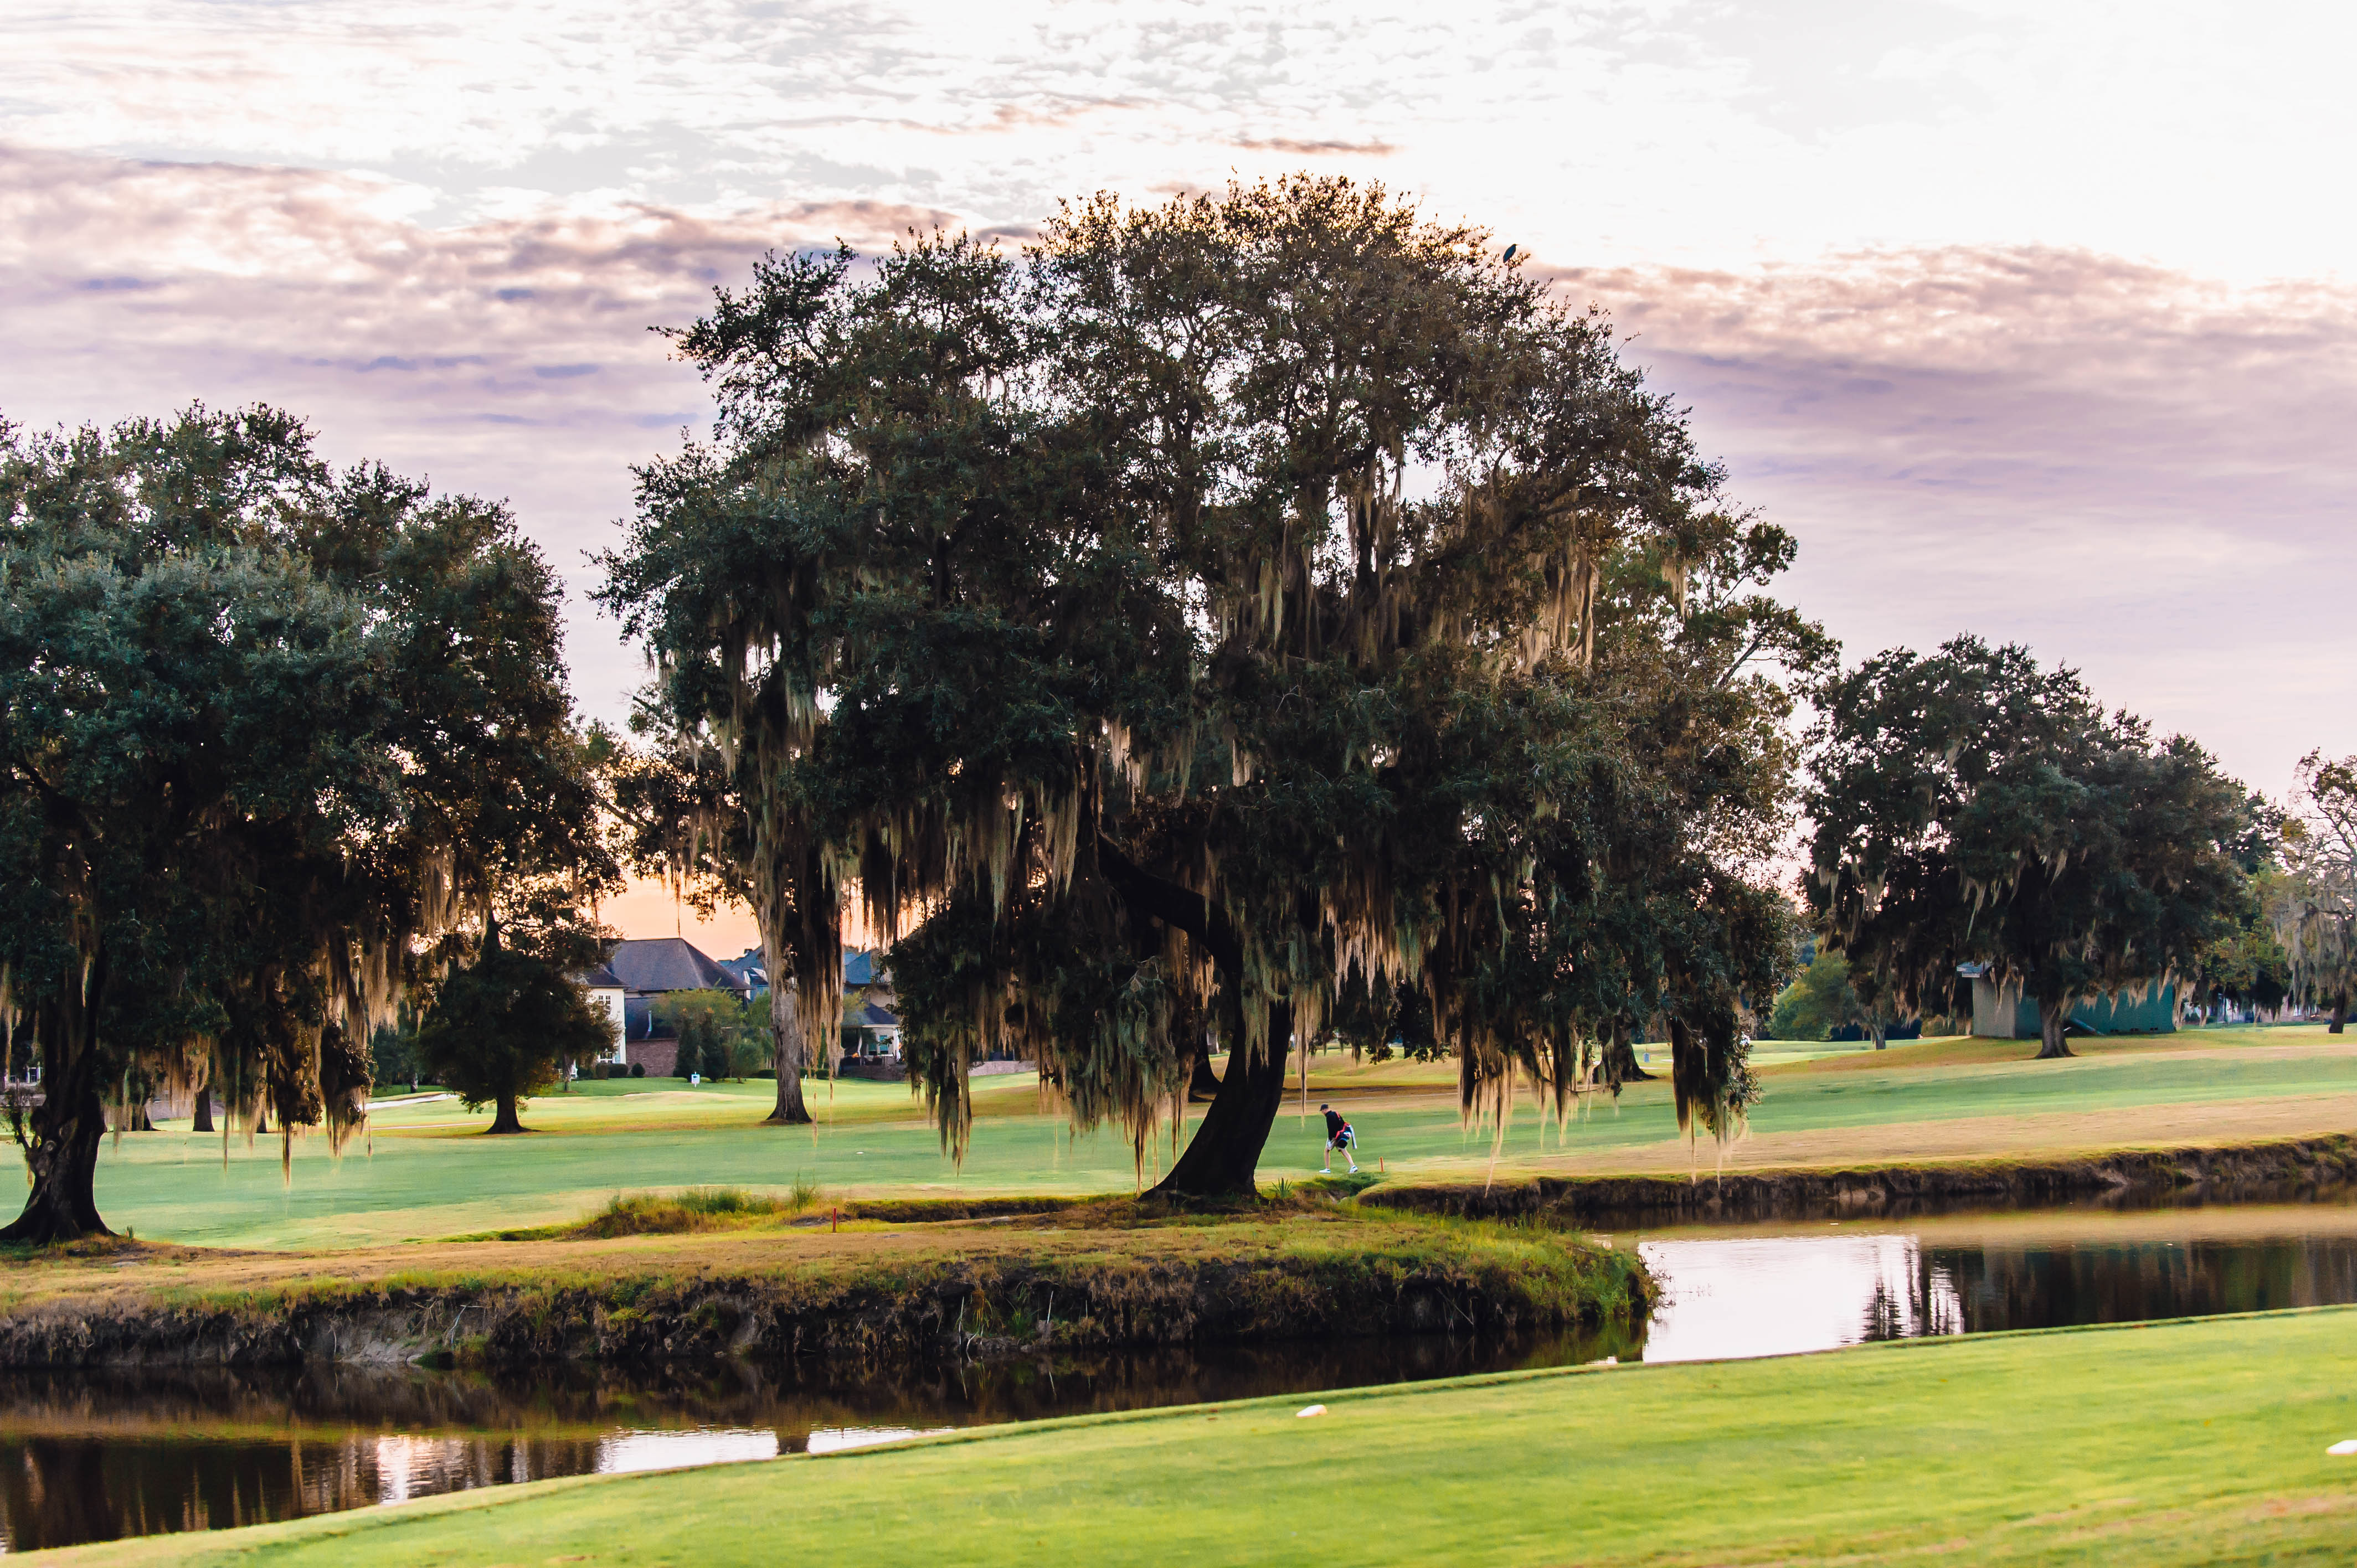
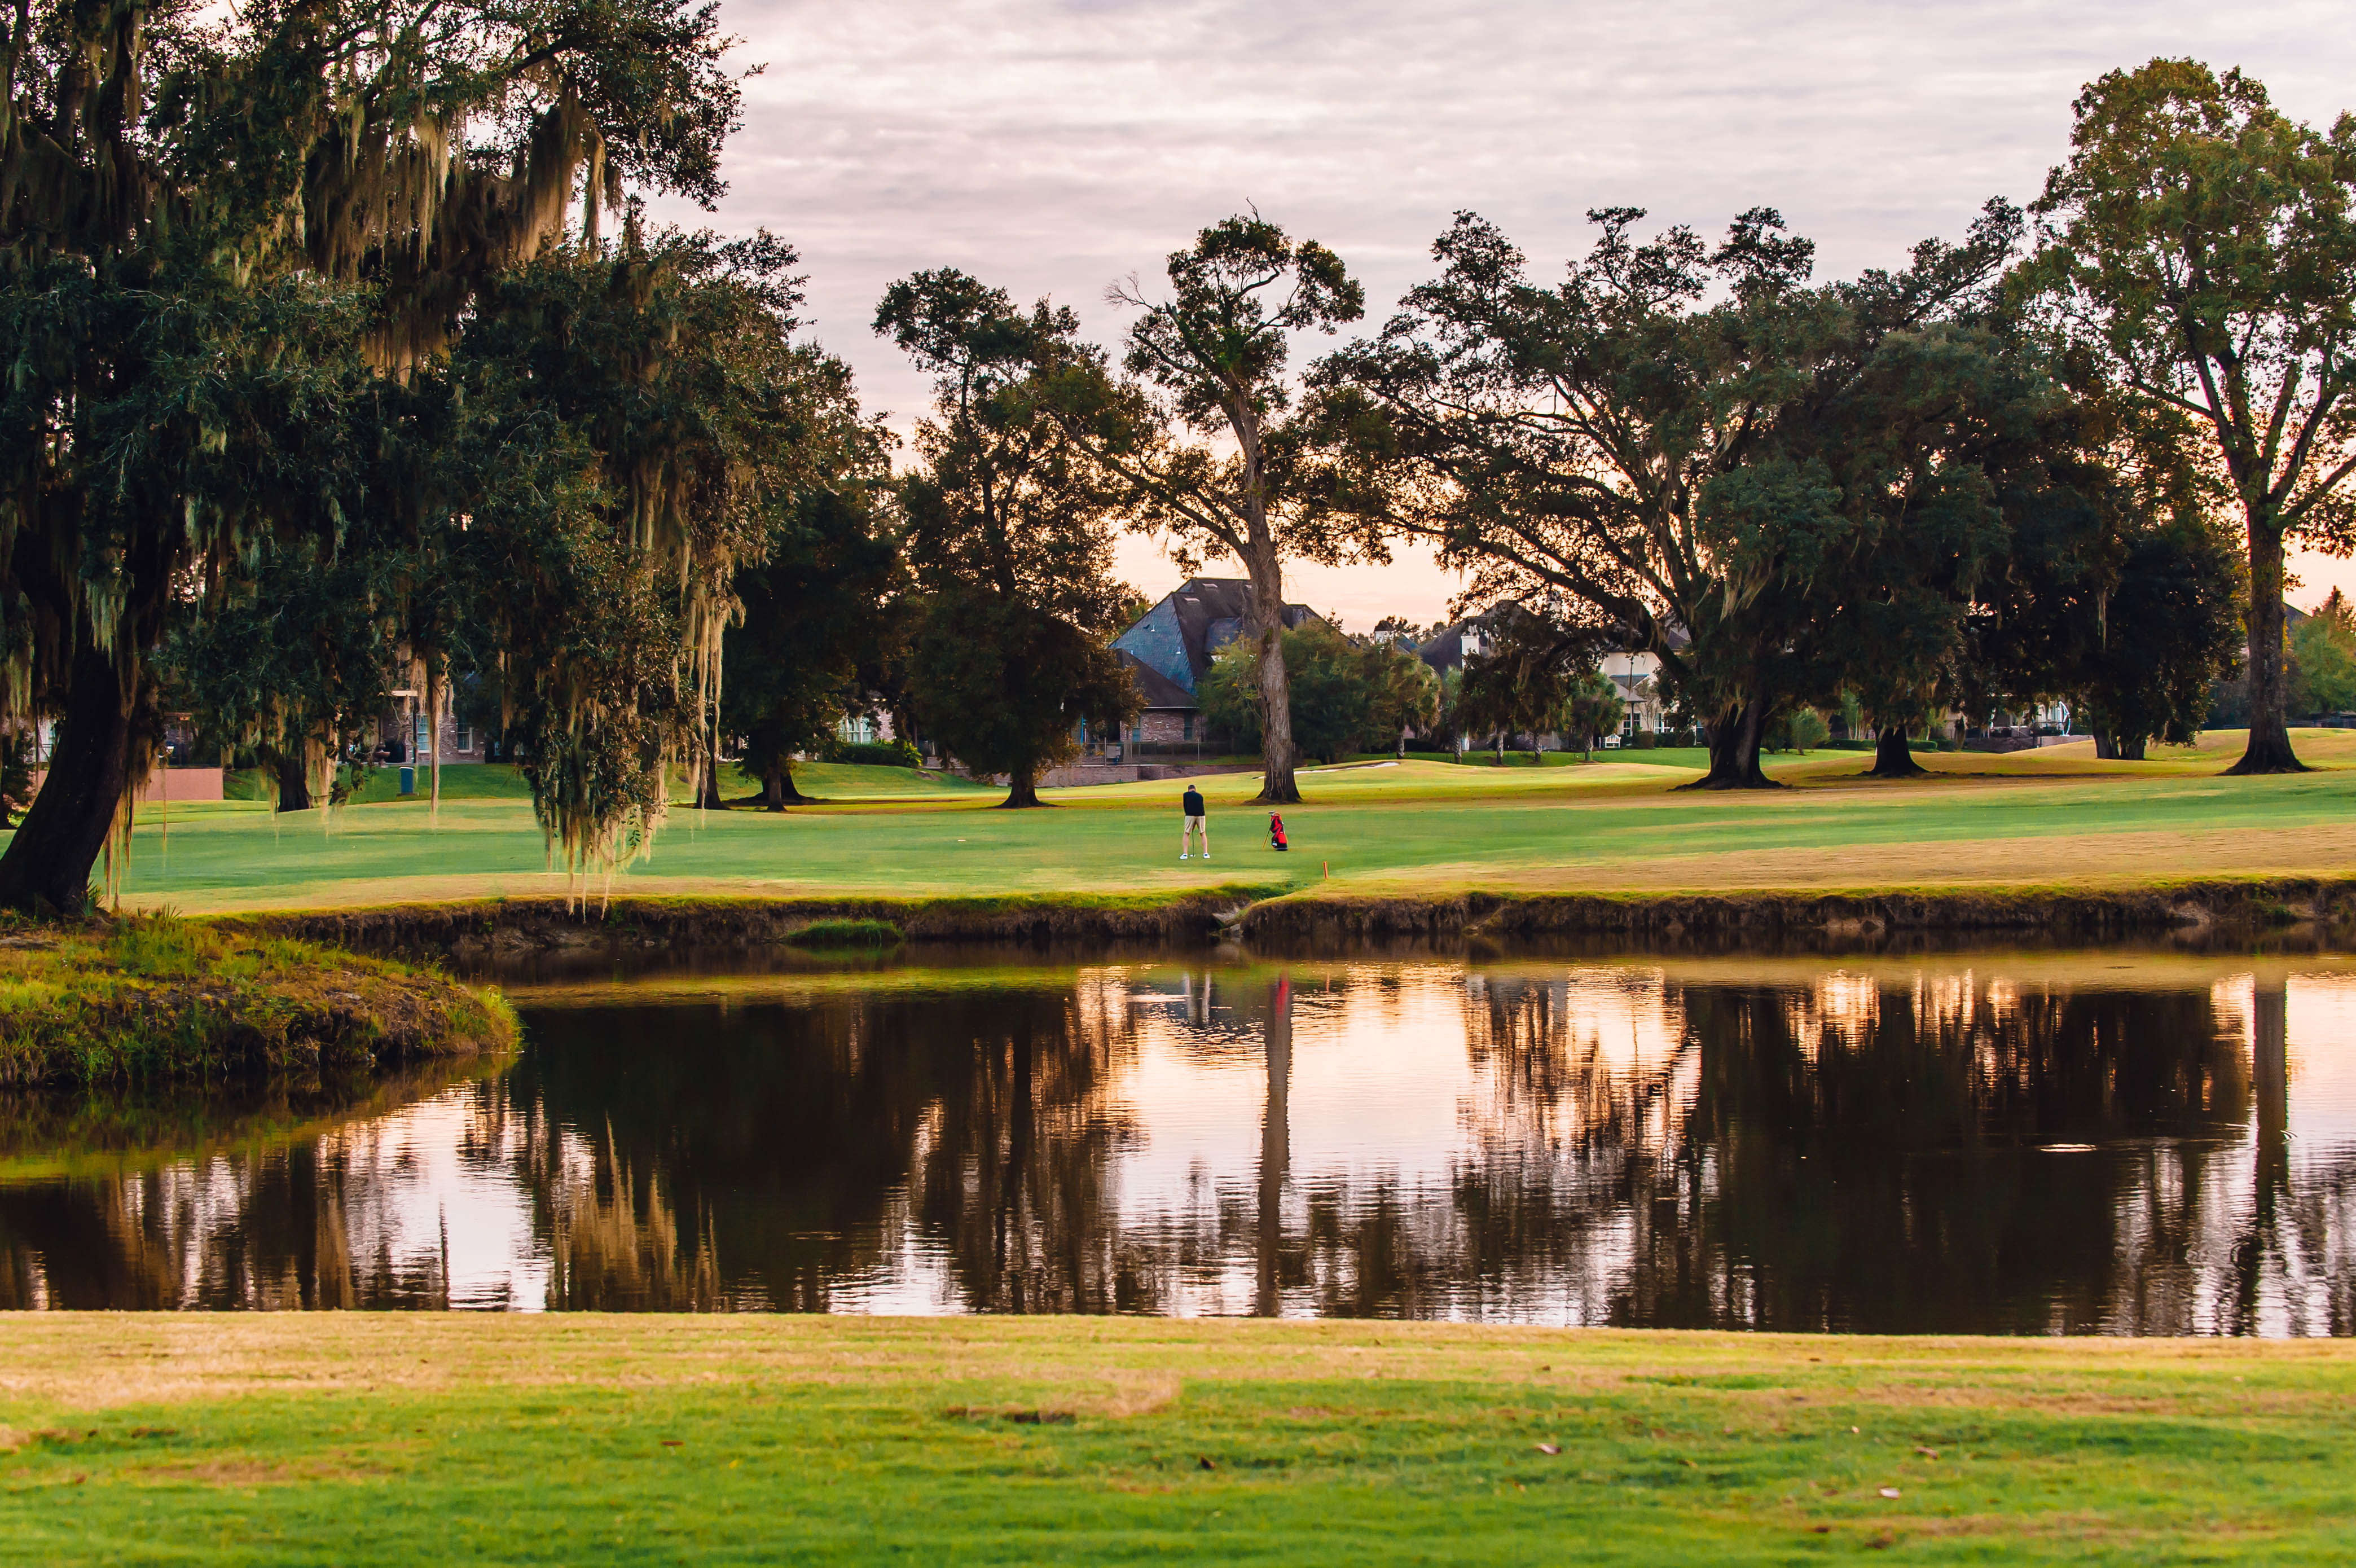
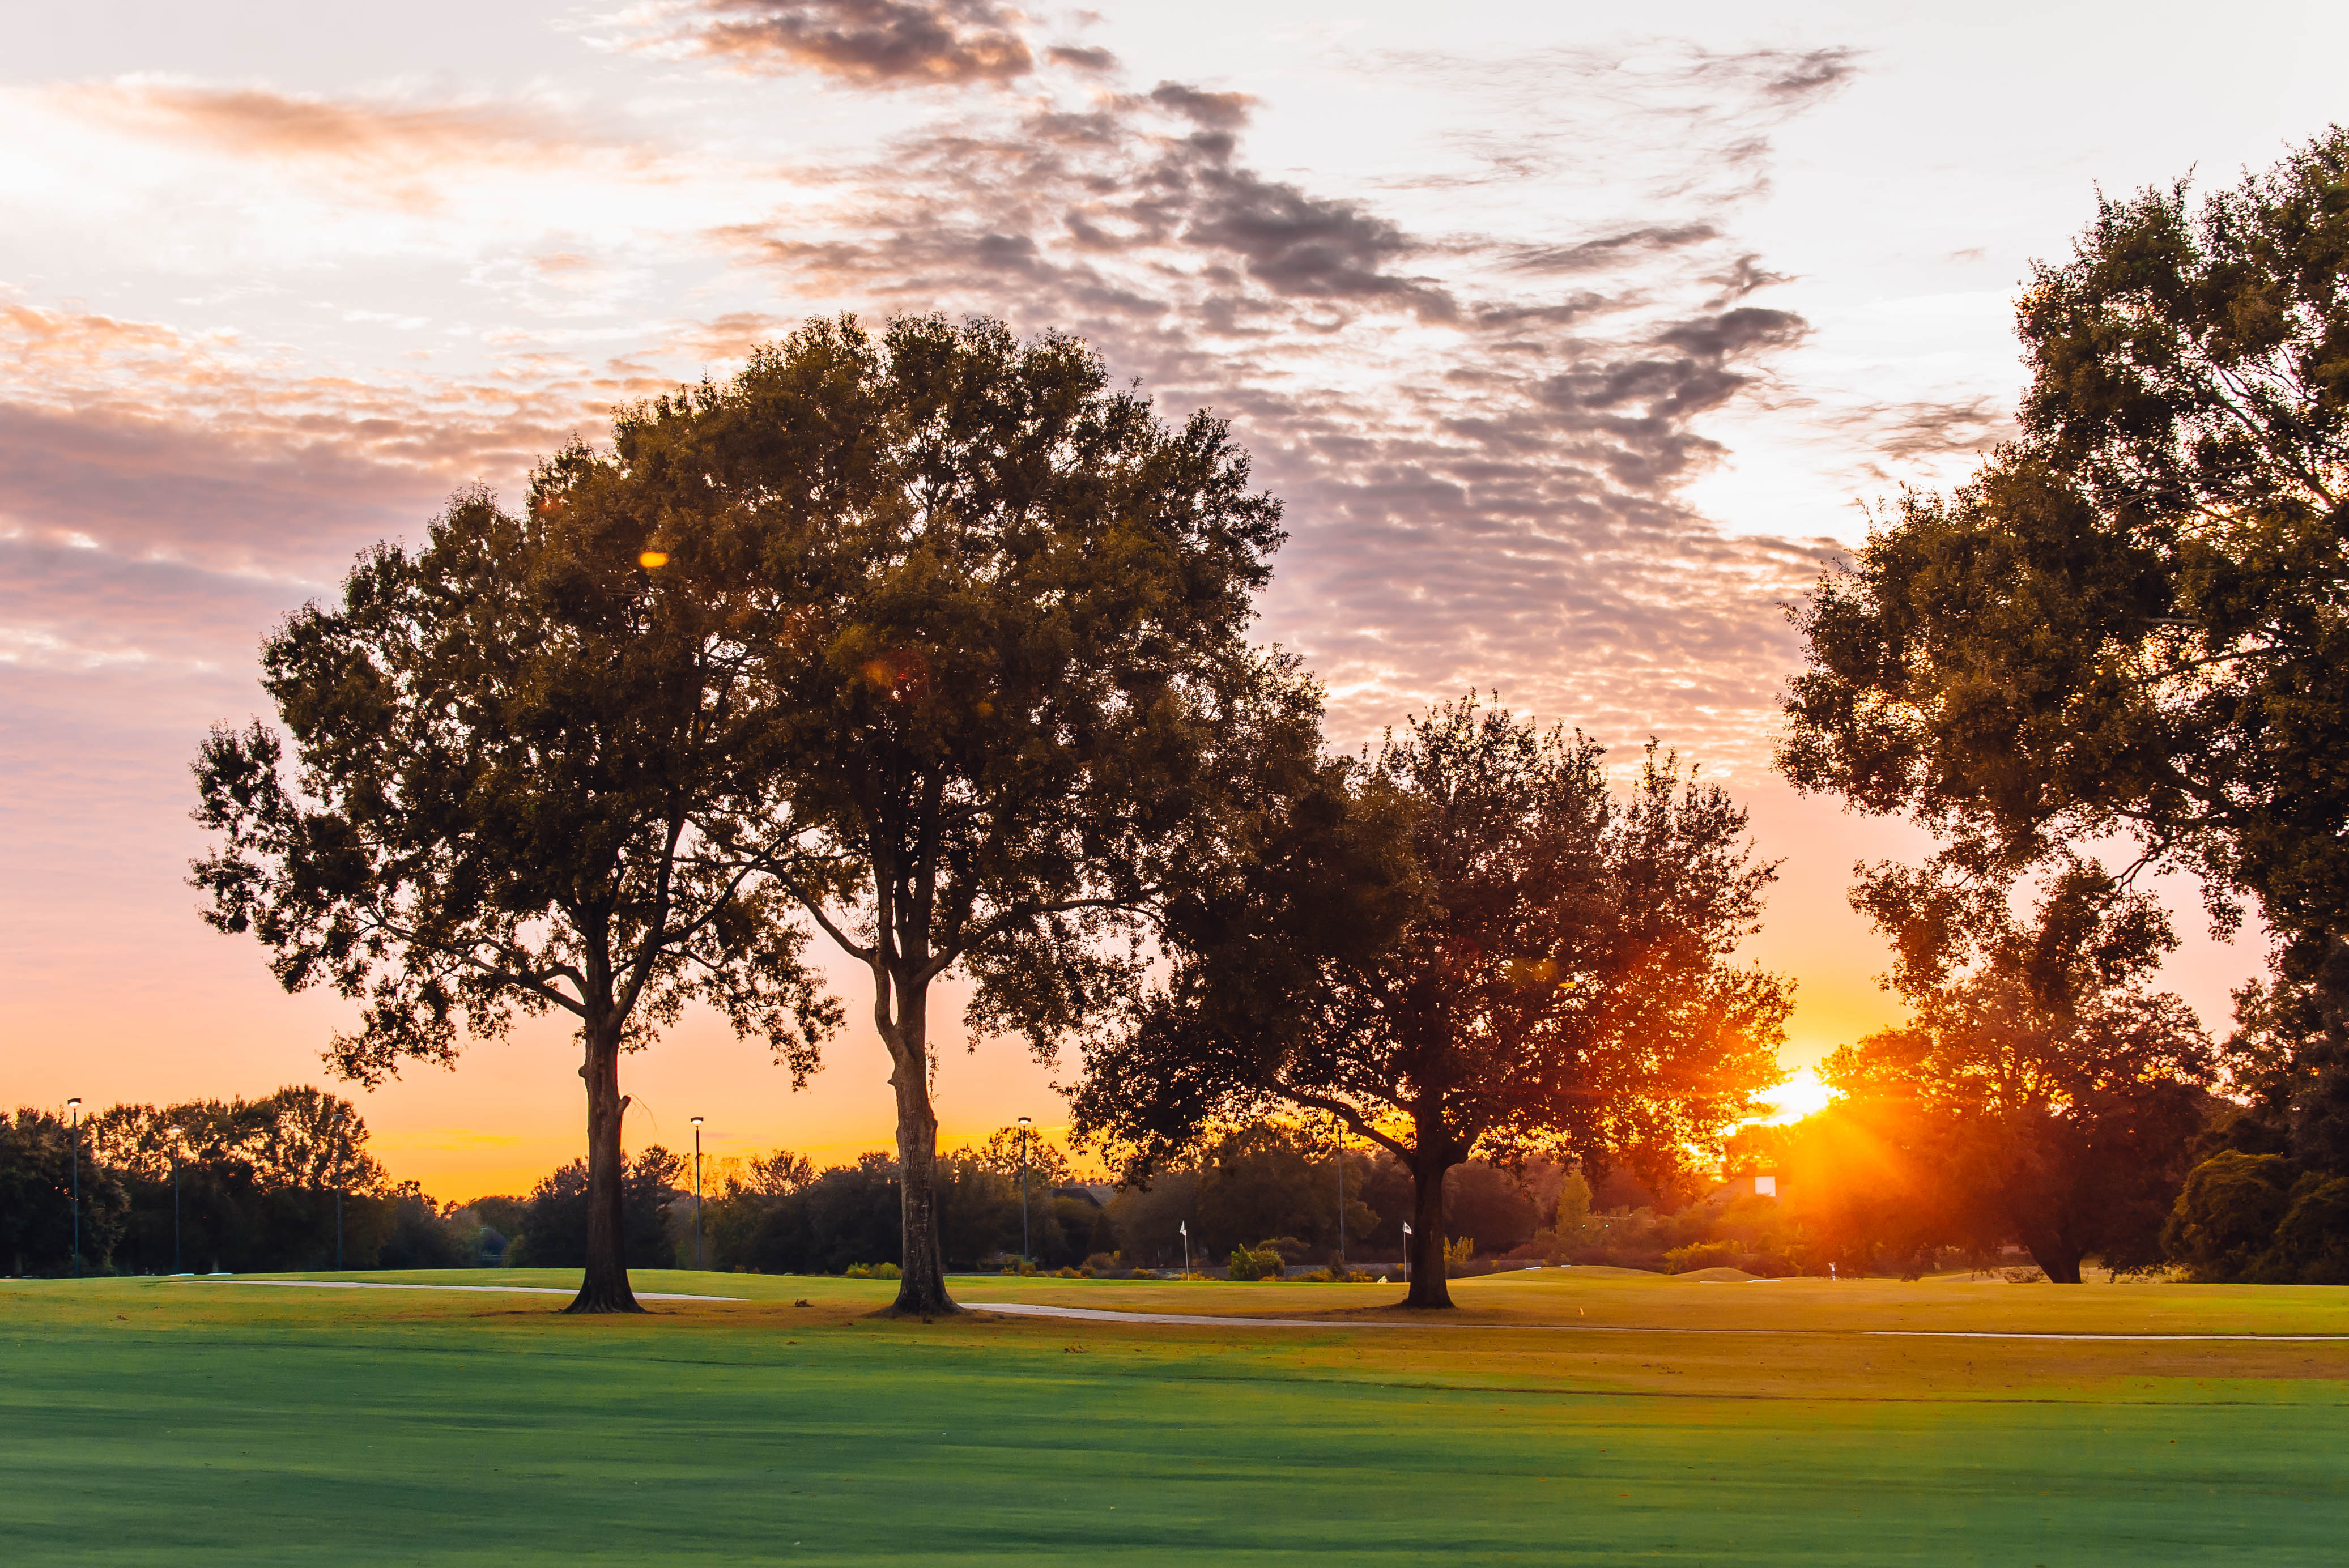
Designed by Robert Trent Jones, Sr. and a member of the prestigious Audubon Golf Trail, Santa Maria Golf Course is built on 150 acres of rolling terrain, featuring 18 lakes and two natural waterways. This is the perfect memorable setting to test your golf skills, complete with sand bunkers, exquisite Bermuda fairways and mature oaks.

The 18-hole course measures 6,969 yards in length from the championship tees. The Spanish-style clubhouse includes a pro shop, a full-service restaurant and a private conference/dining room and fitness center. Champions Grill overlooks the beautiful par-five finishing hole, and you’ll want to stop in for a meal or drinks after your round.

Santa Maria Golf Course has a history of being recognized as one of the best public golf courses in southeast Louisiana; having received Golf Digest’s highest ranking for a municipal course. It is conveniently  located one mile off historic Highland Road near I-10.

Green Fees

* Twilight begins at 3pm; Super-Twilight at 5pm, during Daylight Savings Time (2nd March Sunday to 1st November Saturday)

** Twilight begins at 1pm; Super-Twilight at 3pm, during non-Daylight Savings Time (1st November Sunday to 2nd March Saturday)

Monday-Thursday Green Fee WCart
Regular Round (ages 18-54) $36 $50
9-Hole Round $19 $27
Senior Round (Ages: 55 and older) $28 $42
Junior Round (Ages: 17 and younger) $18 $33
Twilight Round * $27 $35
Super Twilight ** $19 $27
Friday-Sunday Green Fee WCart
Regular Round (ages 18-54) $46 $60
9-Hole Round $23 $31
Senior Round (Ages: 55 and older) $36 $50
Junior Round Before Noon (Ages: 17 and younger) $36 $50
Junior Round After Noon (Ages: 17 and younger) $18 $32
Twilight Round * $34 $42
Super Twilight ** $25 $33